
Drywall Repair in Conroe, TX: Holes, Cracks, Seams and Nail Pops | Conroe Drywall Co.
Conroe Drywall Co. has served homeowners and property managers in Conroe, Texas, as a drywall repair contractor for over 15 years. Whatever has damaged your wall, the repair starts by identifying the cause rather than judging the problem by its size, whether it is a nail pop where a fastener has pushed the paint into a small bump, a doorknob hole, a hairline crack, a seam that has opened between two sheets, a dented corner bead, an access cut left by another trade, or a foot through the ceiling from the attic above. Sheetrock repair and drywall patching are simply other names for the same work, so a drywall repair service covers all of them.
We arrive with instruments that reveal what the surface does not. A moisture meter measures how much water is held inside the board, while a stud finder locates the timber uprights hidden behind it. We bed paper tape, the strip that spans a joint, into setting-type compound, a filler that hardens through a chemical reaction instead of simply drying out. Fastening follows ASTM C840, the industry installation standard that sets the screw schedule for the board and framing in front of us. Published market ranges for a repair here start around $250.
We work throughout Willis, Montgomery, the Lake Conroe communities, and the rest of Montgomery County, and you know whether the job needs a patch or full replacement before the bill arrives, not after. Call us at (346) 706-5743 or use the quote form to have your wall inspected and priced.
Get A Free Estimate
What Drywall Repair Covers in Conroe Homes and Businesses
The six types of damage below are what sheetrock wall repair covers in a Conroe house. They look completely different, but the same three parts sit behind each one: the board, the framing it is fastened to, and the finish on its face. A bump, crack, or lifted seam is a symptom, so the first question is what caused it. We handle both wall and ceiling repair, but this page covers wall pricing. Damaged ceilings go to our ceiling repair service, while commercial repair across a property, water-damaged board, and plaster are quoted separately.
Nail Pops and Fasteners That Have Backed Out
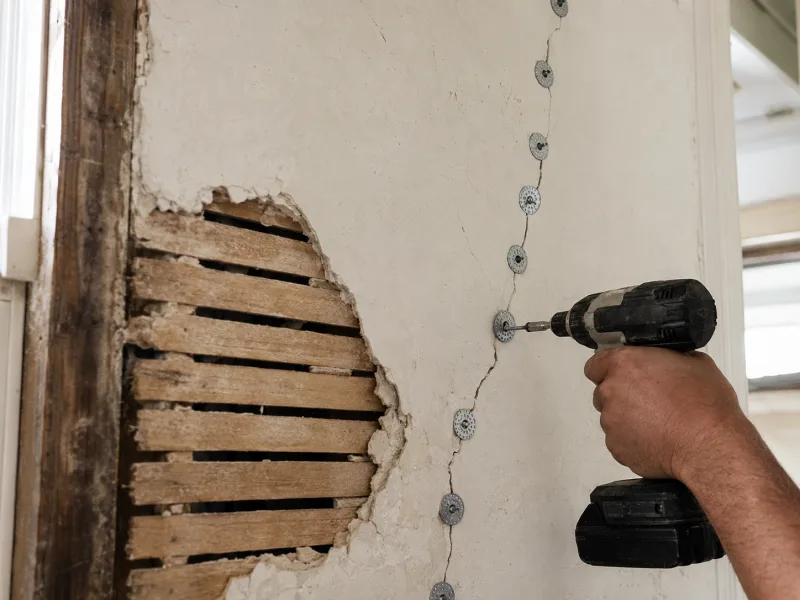
A nail pop is a small round bump on your wall where a fastener head has pushed the paper face outward. The board itself is not the problem. As the wood framing behind it dries and shrinks, seasonal movement loosens the fastener until the head stands proud of the surface. Nail pops and screw pops are the same failure caused by different fasteners.
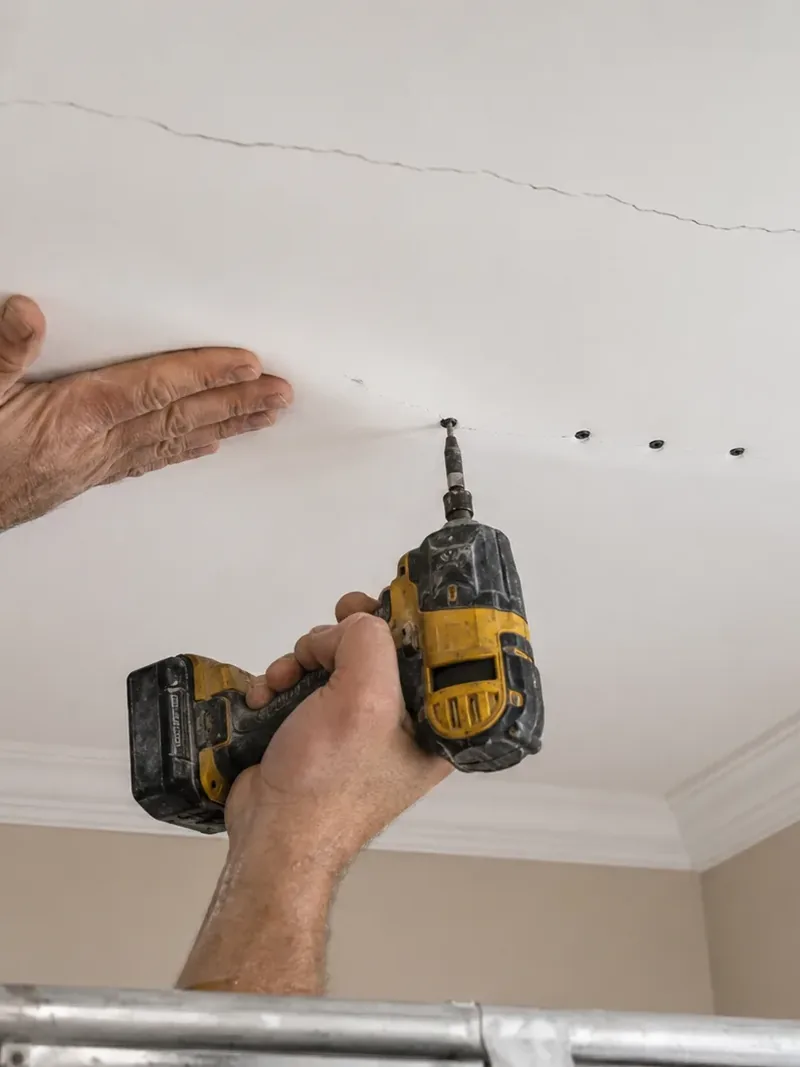
Patching over the fastener head alone hides the bump for a season, but it returns because the panel has not been pulled tight to the wood behind it. We set a new screw an inch or two away to draw the board firmly against the framing, then re-seat or remove the old fastener and fill both spots. On a typical wall, screws sit about 16 inches apart and closer together on a ceiling, though the exact schedule depends on the framing and the board. A single pop usually points to one fastener that has let go. Several along the same line should be looked at together, because a shared cause along that run is more likely.
Doorknob Holes, Impacts and Punctures
A doorknob, furniture corner, kicked baseboard, or pet can damage the face of your wall, leaving anything from a shallow dent to a hole a foot across. If the paper face is still intact, we fill and finish the dent in place; once the paper is torn, the gypsum beneath it is crushed and the damaged section has to be removed.
A hole left by a door handle is usually about two to three inches across, and the crushed board around it has to come out too, which typically brings the opening to about six inches square. We square the cut instead of tracing around the damage, and the size of that opening determines which patch we use. You will know which method fits your wall once we inspect it.
Hairline Cracks and the Ones That Come Back
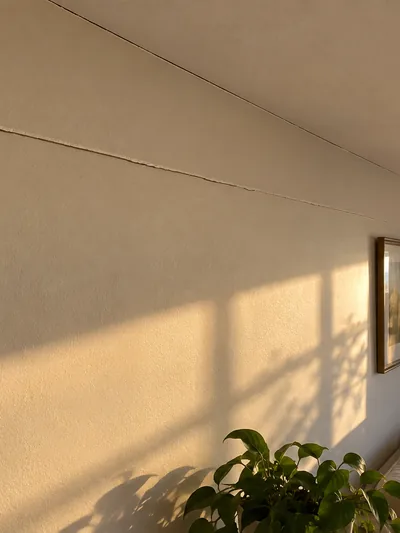
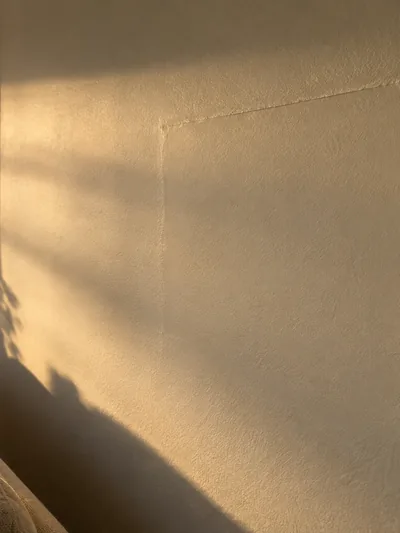
A hairline crack is a thin surface line less than about 1/16 inch wide, and it frequently appears above a door or window opening where part of the wall has been cut away. Cracks have several causes, but an opening creates a weaker line than the surrounding wall. Filling the crack without tape leaves nothing tying the two sides together, so it splits open again the next time the wall moves.
Tape across the joint is what holds the crack closed after it is filled. We repair the crack in front of us rather than trying to diagnose a foundation from a line on the wall. If a crack is wide, steps sideways, or reopens in the same place after repair, it warrants evaluation by another qualified professional, and we will tell you when your wall falls into that group.
Opened Seams, Failed Tape and Damaged Corner Bead
The boards meet at a joint every four feet across your wall, and each joint is taped and filled flush with the surface. If a seam was bedded in too little compound, the tape pulls away from the board behind it and shows months later as a bubble or long straight line. We cut the failed section back until we reach tape that is still firmly bonded at both ends.
Corner bead is the metal or vinyl strip beneath the finish on an outside corner, the edge that turns toward you where two walls meet. It comes in eight- and ten-foot lengths and is cut to fit the height of the corner. A hit from furniture or a cart dents the strip beneath the finish, leaving the corner no longer straight. We cut out and replace the damaged length, because compound applied over a bent edge simply follows the bend.
Access Cuts Left by Plumbers and Electricians
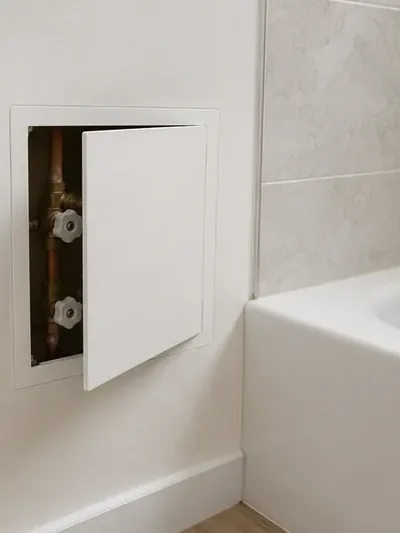
A plumber or electrician opens your wall deliberately to reach a pipe, valve, junction box, or duct, leaving behind a clean, square opening. The upright studs behind the board are typically spaced 16 inches on center, which leaves a clear gap of about 14-1/2 inches, so one of these access cuts is often a single stud bay wide.
We close the wall after the other trade has finished and signed off on its work, since we do not perform plumbing or electrical work ourselves. Where a valve will need to be reached again, an access panel of about 12 by 12 inches avoids cutting the same wall twice. A damp-room wall takes moisture-resistant board, which is different from tile backer. Behind shower or tub tile, residential code calls for cement board or a glass-mat panel, and choosing the right board for a wet area is a separate service of ours.
Attic Step-Throughs and Damage From Above
Someone working in your attic steps between two ceiling joists and puts a foot straight through the board below. Ceiling joists are the timbers the board is fastened to, spaced 16 or 24 inches apart, and the open space between them is where the foot goes through. The hole you see from below is only the most visible part of the damage. The board is also cracked on both sides of the break, and the fastener line along the joist has loosened.
The insulation above is crushed and pushed aside as well. We check the joists on both sides of the break instead of looking only at the opening, because a repair sized to the visible hole leaves loose board around it. Adding a run of decking or a walkway board over the joists gives you secure footing and helps prevent the same damage from happening again. The overhead patch itself is handled through our ceiling repair service.
Why the Cause Matters
We approach drywall restoration as a diagnosis first, because finding the cause of the damage is the harder half of the job and determines the scope you are quoted. The causes of drywall damage here come down to three, and with about 51 inches of rain each year, two of them involve moisture in some form.
- Movement. The timber frame shrinks and swells through the year, and where clay sits near the surface, the ground beneath the house shifts with the seasons as well. That movement is one reason drywall cracks show above openings and nail pops appear in a line instead of at random. We never treat a crack as proof of what your foundation is doing, and the cracks section above explains when to have one inspected.
- Impact. Everyday knocks, wear, and anything hung on your walls leave holes, dents and bent corner bead. When an anchor pulls out, it takes a cone of gypsum with it, and the board around any break is crushed farther than the visible damage suggests, so the repair area extends beyond the mark you see.
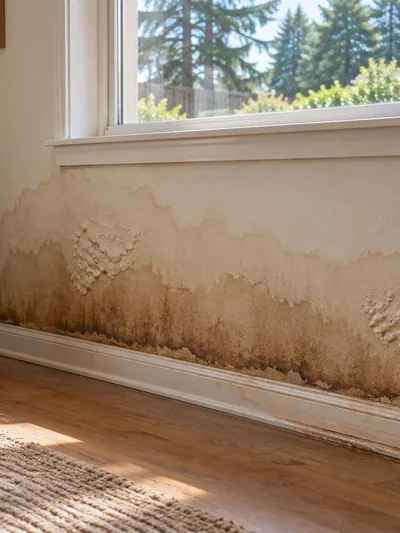
- Water. Wet board loses its strength, and the framing behind it has to read dry before the wall or ceiling is closed again. Finding and stopping the leak at its source is a separate trade, with a plumber or roofer handling the source depending on where the water is coming from. Active mold or the moisture source itself may need another qualified trade first.
When a Drywall Repair Becomes a Replacement
The most common question we hear on the phone is whether a damaged wall can be patched or whether the board needs to come out. Both are valid repairs, and the right choice depends on the damage, so a contractor who gives every caller the same answer is not answering the question you asked. What decides it is how much strength the board around the damage still has and what each option costs in labor. Drywall replacement here means removing the damaged 4 by 8 foot sheet and hanging a new one, not rebuilding your wall.
Where the Threshold Actually Sits
A patch needs solid backing along every edge, either sound board or wood framing behind the opening. For small drywall repair, a hole under roughly 6 inches across is a common patch size, but that is only a guide. A hole that size can still fall between studs with nothing behind it to fasten to, which is one of the things we check during the visit. Once the opening gets wider, it begins to run into the stud bay, the clear gap of about 14-1/2 inches between two upright studs. When the damage crosses a stud, cutting back to a full sheet is often the simpler repair.
The width of the hole is not the deciding factor. Board that crumbles, sags, or has been soaked will not hold fasteners or compound, so a patch installed into it fails around the edges. The same is true when damage is spread across the wall, because replacement is priced by the sheet, and each sheet measures 4 by 8 feet.
When a New Sheet Is the Cheaper Answer
The comparison comes down to finishing labor rather than the board itself. Every separate patch needs its own taping, coating and sanding, so four openings on one wall mean four rounds of each. A single new sheet leaves one set of joints around its edges to tape and finish, no matter how much of the wall it covers. That means four small patches can require more finishing work than the one sheet that would replace all of them. When you ask us whether to repair or replace drywall, we count the openings, check the condition of the board between them, and put the recommended route in a written estimate.
How We Cut Out, Patch and Re-Tape Damaged Board
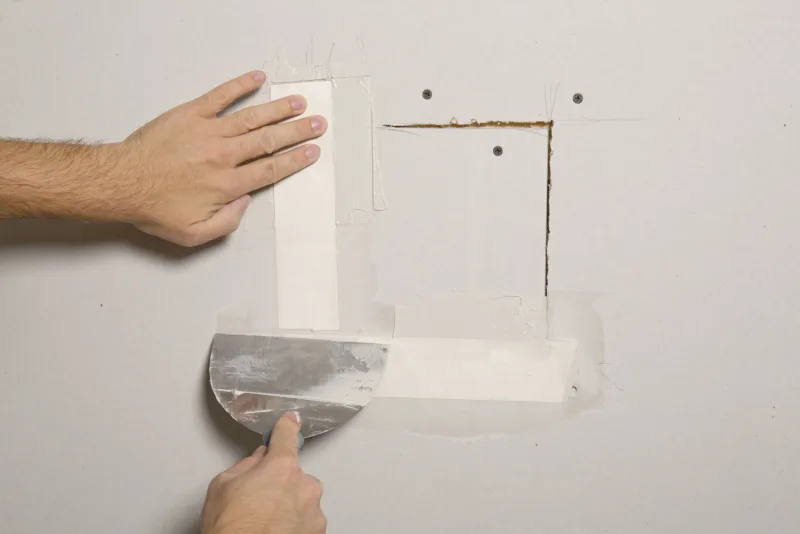
Every repair follows the same four steps, and each one works on the board behind the paint rather than the paint itself. We cut the damage back to sound board, add solid backing behind the opening, tape the joint, and apply compound until the edge disappears. That order stays the same whether the opening is an inch across or spans a full bay between two studs; only the method used to bridge the hole changes.
Squaring the Cut-Out and Finding Solid Backing
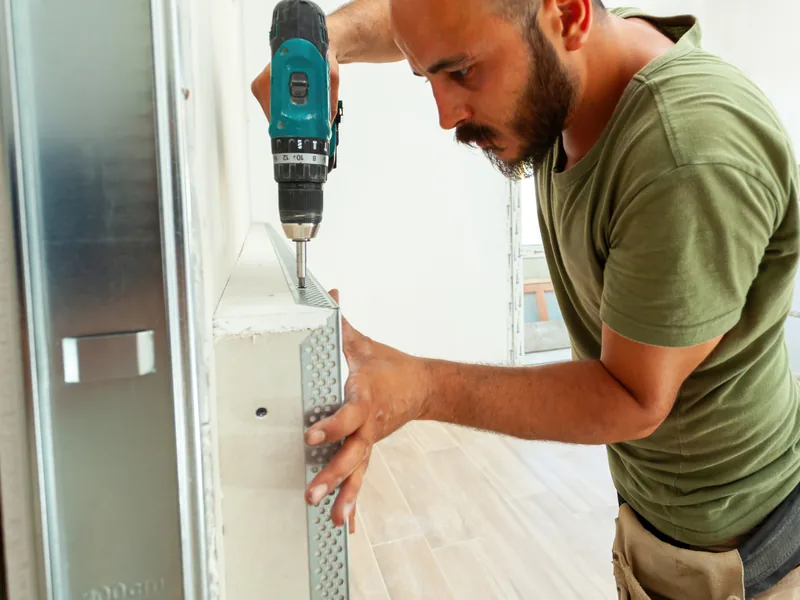
We cut ragged damage back to a square opening so the patch has straight edges to meet. Before the drywall saw goes in, we use a stud finder to locate the framing, with wall studs usually set 16 inches apart and ceiling joists often 24, and we check the path for wiring and pipe. Behind the opening, we add a solid strip of wood, often a furring strip, and secure it with 1-1/4 inch drywall screws. Without that backing, the patch flexes when the wall is pressed and the joint cracks along the edge.
Choosing the Patch by What the Opening Will Hold
We match the repair method to the size of the squared opening. For a hole under about half an inch, we fill it with compound and sand it flat without adding a patch behind it.
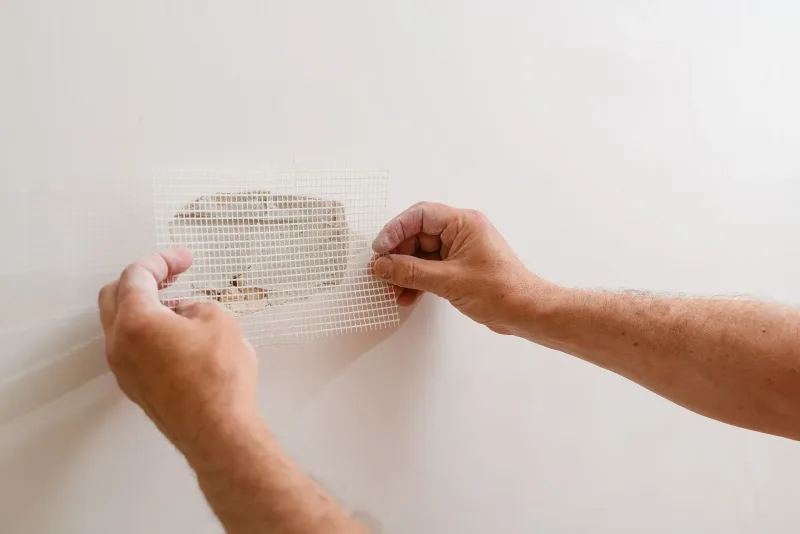
A self-adhesive mesh patch is a stiff mesh square set into compound. It works well for a small hole, but on anything larger, its outline shows through the finish. A California or butterfly patch uses a drywall offcut with the paper border left long so it serves as its own tape, and about six inches is the usual size. If your opening falls between studs, we install a backer strip first; if it crosses a stud, we cut the board back to the framing on both sides. The new piece matches the thickness of the board that came out.
Tape, Bedding and Compounds That Set Rather Than Dry
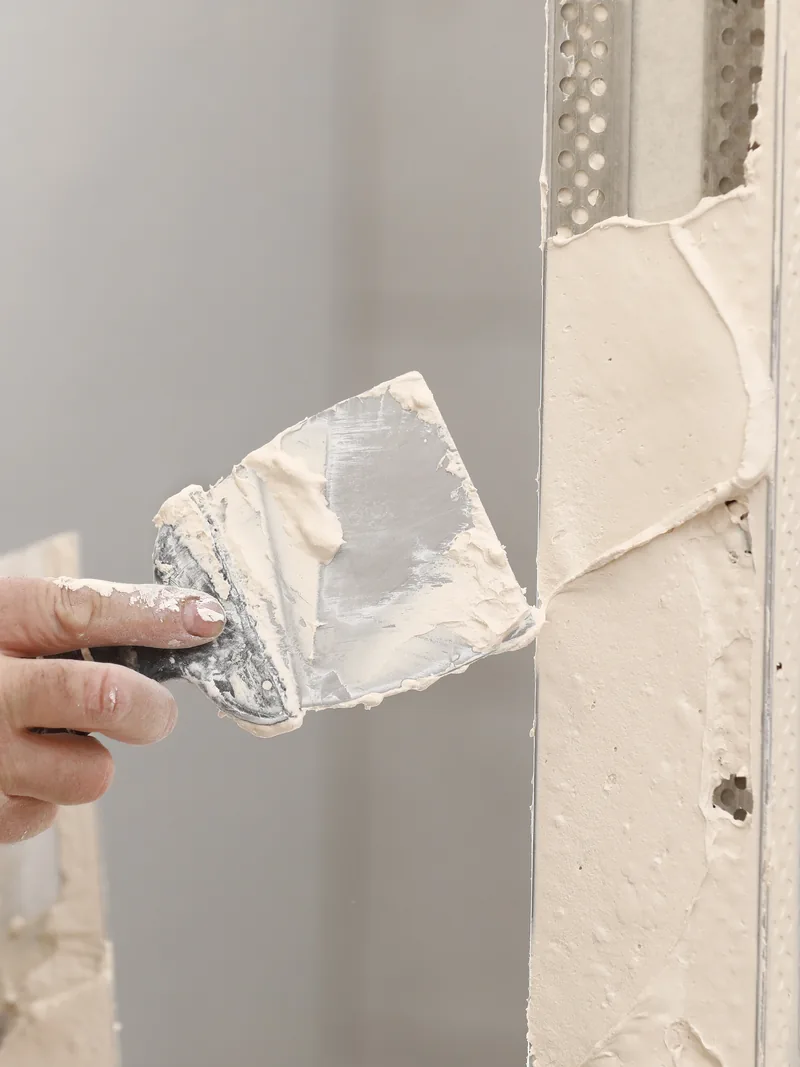
We bed the tape into wet compound instead of laying it over a dry joint, which lets the compound bond the tape to the board. Paper tape is stronger under tension and needs that bedding coat to lie flat, while fiberglass mesh tape is self-adhesive and is paired with a setting-type compound. That compound hardens through a chemical reaction in 20, 45 or 90 minutes.
All-purpose compound dries by evaporation and sands more easily, but humid air slows that drying. Setting compound is far less affected because it cures through a chemical reaction rather than drying out, although temperature and room conditions still matter. Taping and floating, the trade term for bedding the tape and then building the compound out flat over it, follows ASTM C840, the published standard for this work.
Feathering, Sanding and the Flat a Finish Needs
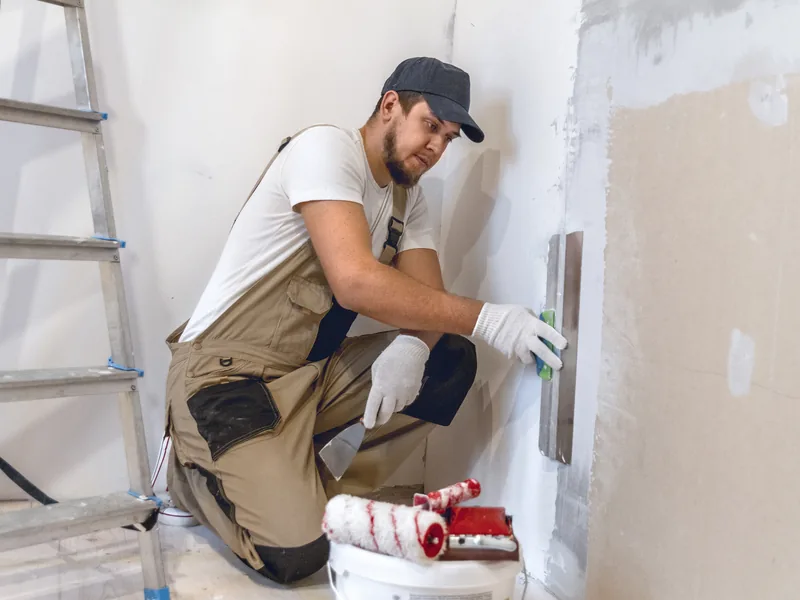
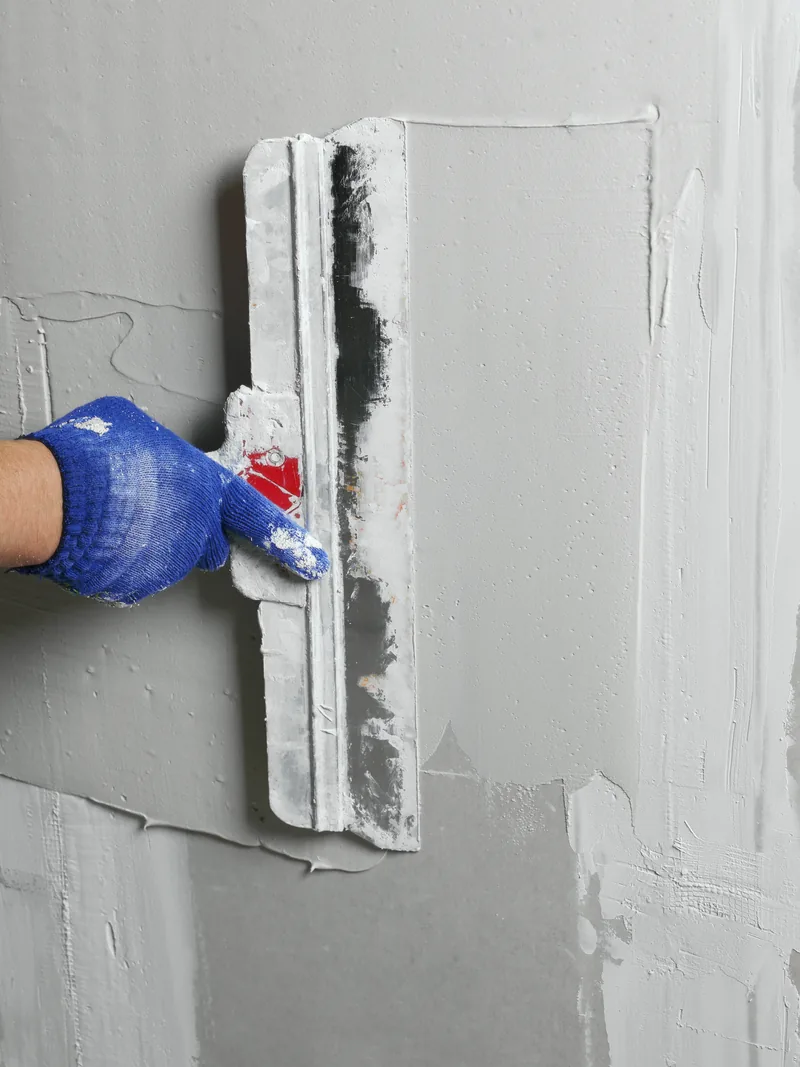
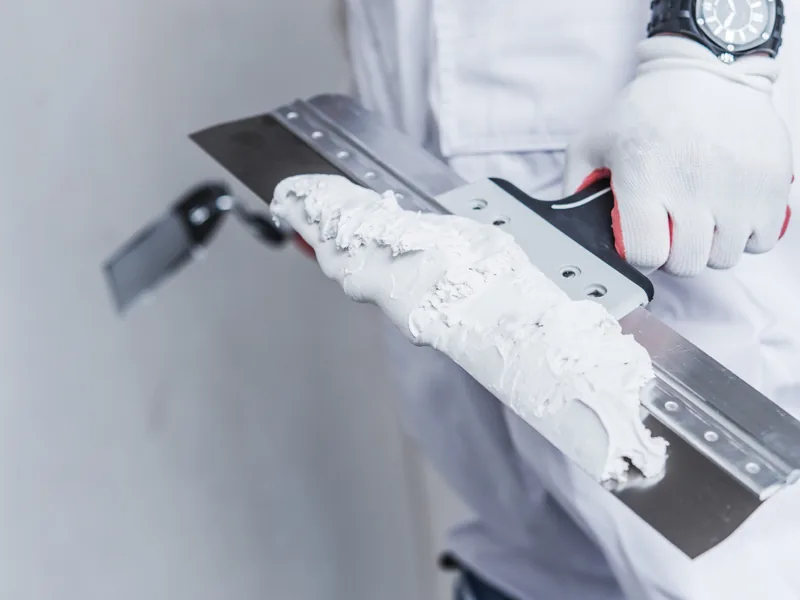
We spread each coat wider than the one before it so the compound tapers to nothing at the edge, a technique the trade calls feathering. The knife gets wider with each pass, moving from six inches to ten and then twelve, and we sand the final coat under a light held close to the wall so any ridge casts a visible shadow.
New compound absorbs paint differently from the existing painted surface, so an unprimed patch looks brighter or duller than the wall around it. That difference is called paint flashing, and a drywall primer-sealer evens out the absorption before the finish coat goes on.
GA-214 provides the trade terms for describing how smooth a wall is. We finish repairs to Level 4 for an ordinary painted surface and to Level 5 where strong lighting makes the extra finish necessary.
Most walls here have a sprayed finish such as knockdown texture or orange peel, and on older texture, a patch can still show under raking light. When that happens, the better approach is to carry the finish across the entire wall instead of stopping at the patch, and we say so before you agree to anything. We leave your wall flat and primed. Texture matching and final painting are handled through our finishing and painting services and quoted alongside the repair rather than included in it.
Keeping the Dust Out of the Rest of the House
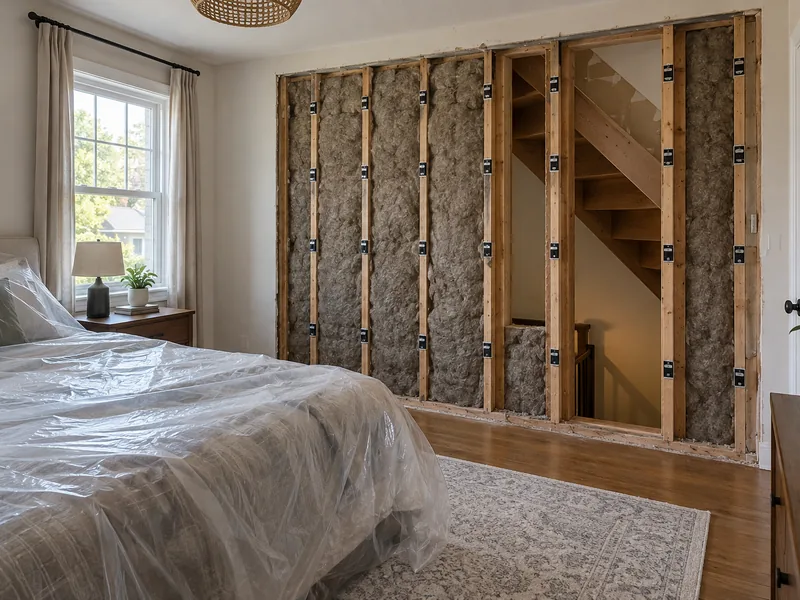
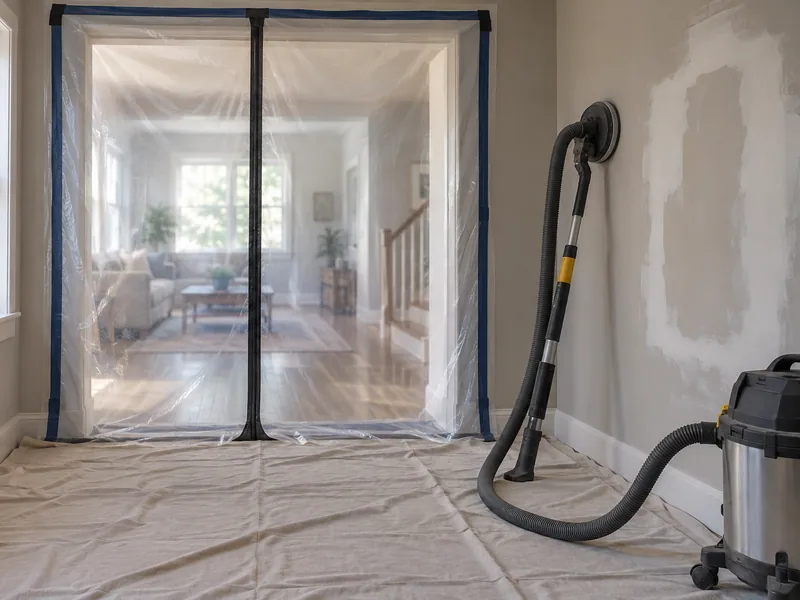
A drywall repair takes place in a room you are still living in, unlike work inside an empty house. Sanding a patch releases gypsum dust, the fine white powder ground from the board's chalky core, and it is light enough to drift down a hallway and settle several rooms away. Dust control has two parts: room containment keeps dust inside the work area, while the tools reduce how much dust is created in the first place. We set up both before the first cut, because dust that stays inside the room never has to be cleaned from the rest of your house.
Masking, Containment and the Air Path
We cover your floors and any furniture that has to stay in the room, then seal the doorway with 6-mil plastic sheeting held in place by a spring-loaded pole braced between the floor and ceiling. All of that is set up before we open the wall.
The HVAC return is the grille that draws room air back into your heating and cooling system, and if it stays open during sanding, it carries drywall dust into the ductwork and distributes it to other rooms. We seal the return with plastic and painter's tape before sanding begins, keep the work contained inside the room being repaired, and clean the area at the end of each day.
Vacuum Sanding and Wet Sanding
A vacuum sanding head is a sanding pad with a hollow back connected by hose to a vacuum, so dust is drawn away as soon as it is created. The vacuum uses a HEPA filter, which traps particles too fine for an ordinary household vacuum to hold.
Wet sanding replaces the 220-grit abrasive screen with a damp sponge and creates almost no dust, though it leaves a slightly softer edge that works better on a small patch than on a long joint. No repair is completely dust free, and a dustless drywall repair means the dust is captured at the tool instead of being left to settle around the room. Tell us which method you prefer when you book, and we will set up the dust control that way.
Why Choose Conroe Drywall Co. for Drywall Repair
The price of your drywall repair is written down before you agree to it, and nothing is added without your approval. Opening a wall can reveal work that could not be seen from the room, and a drywall repair company that prices loosely leaves you paying the difference. We put the scope of work and price in a written estimate first, and if what we find behind the board changes either one, we agree on that change with you before the additional work begins.
Our drywall repair work in Conroe spans over 15 years, and that experience has shaped three practices we follow on every job.
- A drywall repair specialist identifies what caused the damage before pricing the fix, so the written price covers the full repair rather than only what is visible.
- We install new gypsum board that matches the thickness and surface of the board already on your wall, so the patch sits flush with everything around it.
- We put protective covers down before the first cut, so you can keep using the room while the work is underway.
We are insured and follow established industry practices, including ASTM C840 standards for gypsum board installation and finishing. Our on-site estimates are free, and financing is available for larger projects. We respond promptly to any warranty-related concerns that might arise.
Call a drywall repair contractor at (346) 706-5743 or send your project details through the quote form to get a free estimate.
What Drywall Repair Costs in Conroe
We set the price of a drywall repair by what the damage requires, not by a rate card. Two holes the same size can cost different amounts because one is a clean opening while the other needs backing installed behind it before the patch goes in. The figures below are published market ranges for the cost to fix drywall, not prices we have quoted to customers. Use them to check a bid you already have and get a rough idea of where your own job falls. We publish no hourly rate, charge no minimum, and provide the on-site estimate free of charge.
What the Estimate Is Actually Pricing
Before you call a sheetrock repair company, you can check your own wall for most of the factors that affect the price.
- How much board needs to come out and whether backing has to be installed behind it.
- Whether the opening stays within one bay or crosses a timber, which adds framing work.
- How many separate repairs there are, since each one carries its own finishing labor.
- Whether the surface around the damage is smooth or has a texture that needs to be matched.
- How high the repair sits and whether furniture has to be moved out of the way.
- Whether the patch needs a setting-type compound, which we price with the coats.
- Whether a stained area needs a drywall primer-sealer before finishing.
Where Your Repair Sits in the Range
Most drywall repairs in Conroe run $250 to $1,800, with the average job landing near $600. That range comes from published market pricing for wall and ceiling repairs rather than a price quoted specifically for your job. A single nail pop or small hole falls near the bottom, several repairs in one room land in the middle, and replacing a full sheet with texture matching pushes the price toward the top. New installation runs about $2.00 to $3.50 per square foot installed. Call (346) 706-5743 and we will come take a look, or start with the quote form. The written estimate for your own repair is the price that counts.
From Your First Call to a Paint-Ready Wall
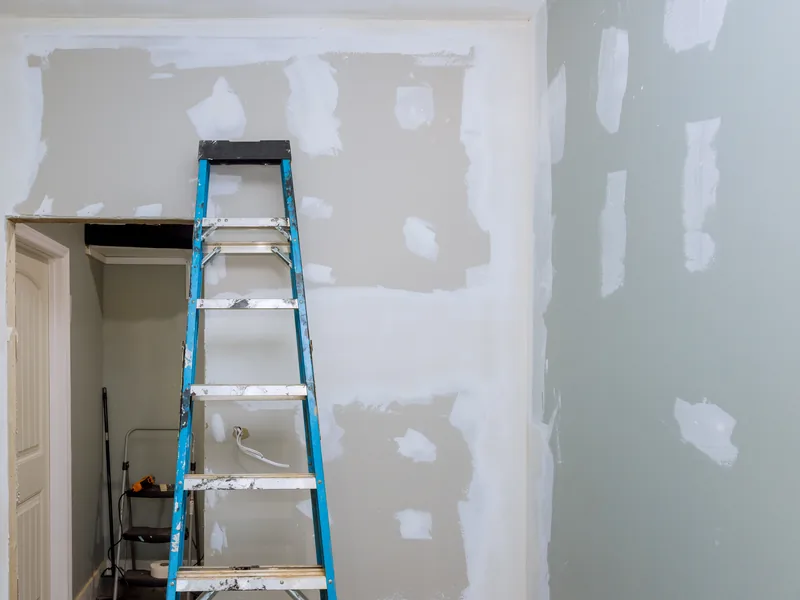
Our drywall repair process follows five steps, from your first call to a wall that is ready for paint, and Conroe Drywall Co. needs you there for only two of them. Paint-ready means the patch sits flat with the wall around it, the joints are taped and finished, and the new surface is sealed with a drywall primer-sealer.
-
1
You tell us what you can see, where the damage is in the house and when it started. Photos sent ahead help us bring the right materials, though they do not determine the price.
-
2
We inspect the wall and the framing behind it at no charge, then make the patch-or-replace decision there with you.
-
3
You receive a written scope with a fixed price that spells out what comes out of the wall, what goes back in and how far the new finish will extend.
-
4
We contain the room, complete the repair, then vacuum and wipe down the work area before we leave.
-
5
We walk through the finished repair with you.
Two things are worth knowing before the day of the repair. Clear away the small items yourself, including ornaments, photographs and anything light enough to lift, while the crew moves and covers the furniture. If we find something behind the board that changes the job, we show it to you and agree on the change before doing the additional work rather than adding it to the invoice afterward.
At the walk-through, we inspect the repair under the room's own light and hold a lamp so the beam runs almost flat across the surface. That grazing light reveals ridges a straight-on view can miss. Anything that is not right is corrected before we call the job finished, and if your wall has texture, matching it is handled through our finishing service. Take the first step by calling (346) 706-5743 or describing the damage through our quote form.
Small Drywall Repairs You Can Do, and the Ones Worth Calling For
A small drywall repair has two parts, and only one is difficult. For most small holes, you can fill the opening yourself with a tub of filler and a steady hand, and the honest answer is that you do not need us for that. The harder part is making the wall look as though the damage was never there. A painted wall looks like one flat surface under one light, so the repair succeeds only when your eye passes over it without stopping.
What Genuinely Is a Homeowner Job
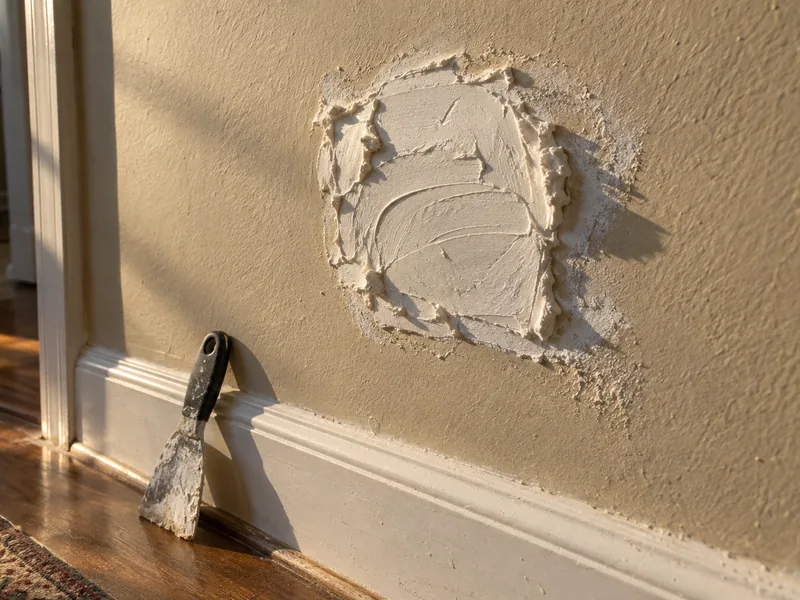
Nail holes, small holes left by picture anchors, and shallow dents in a flat painted wall are all within reach of a minor drywall repair you handle yourself. Anything under about half an inch across on a smooth surface fills well with lightweight spackling paste, a soft ready-mixed filler made for damage this size. Spread it with a flexible putty knife, let it dry, then smooth it with a fine sanding sponge. Two thin passes work better than one thick coat. The mistake that shows is overfilling, because sanding the mound back far enough can cut through the board's paper facing.
Where a Home Repair Usually Goes Wrong
Three conditions put a home repair beyond filler alone. If there is nothing solid behind the opening, the patch has nothing to fasten to, so backing has to be installed first. A crack or open seam needs tape to bridge it, because compound by itself has nothing to hold onto and the joint reopens. A textured surface also has to be matched, which is separate work from filling the hole.
Under grazing light, a patch that looked flat from straight on shows up as a low shadow. A failed patch becomes a larger repair than the original hole because the soft filler and loose paper around it have to come off first. The same repair is harder on a ceiling because wet filler sags before it dries.
How Long a Drywall Repair Takes, and What Stretches It
The repair timeline is shaped more by the waiting periods between steps than by the difficulty of the work itself. Most repairs take one day, including texture. What extends the schedule is any time the wall has to remain untouched between coats or finishes, and we explain which of those waiting periods applies before we begin.
What Keeps a Repair to One Visit
A setting-type compound is what keeps most repairs to a single visit. The bag is marked 20, 45 or 90 minutes, and once that window has passed, the next coat goes straight over the last, so three coats can be applied and finished while we are still in your room. An air-drying filler would still be soft under the second pass, which is what turns a morning's work into a second appointment. We choose which setting time to use when we arrive, based on the size of the patch and how damp the air is. A small patch on a flat wall fits comfortably into a morning.
What Turns One Visit Into Two
Four things push a repair into a second visit, and each one comes down to waiting time. A large area of new board needs more coats than a small patch, and every coat has to harden before the next goes on. A stain that has soaked into the board adds another wait, because we seal it behind a drywall primer-sealer and check the patch again before applying any finish over it.
Damp air slows an air-drying coat between passes, and with about 51 inches of rain each year, summer in this humid subtropical climate stays damp for weeks at a time. A wall being monitored for movement adds the same kind of waiting period. The second visit is usually short because most of the finishing is already complete. A water-damage rebuild is handled through our separate service and follows a different schedule.

Where We Repair Drywall Across Conroe and Montgomery County
Conroe is the county seat of Montgomery County, with housing that ranges from established neighborhoods and newer subdivisions to lake-area homes. Its humid subtropical climate brings about 51 inches of rain each year, and that damp air is the local variable that matters here: it slows compound as it dries and exposes leaks. Older walls carry hand texture, a pattern troweled or brushed on by hand, while newer walls are finished smooth, and the two surfaces show damage differently. Behind either finish is the same gypsum board on the same framing, so wherever your house sits, the wall behind the damage is built the same way.
Drywall Repair From Conroe Drywall Co.
Conroe Drywall Co. repairs walls and ceilings across 21 communities, grouped below into three areas. You will see the same work advertised by sheetrock repair contractors throughout the county, but the drywall repair Conroe property owners call us for extends well beyond the city. Most of these communities are in Montgomery County, while New Waverly and Plantersville sit across the county line.
Conroe Neighborhoods and Communities
- Grand Central Park
- Graystone Hills
- Rivershire
- Stewarts Forest
- Downtown Conroe
- Wedgewood
- West Fork
- Tejas Creek
Surrounding Cities and Communities
- Willis
- Montgomery
- New Caney
- Splendora
- New Waverly
- Cut and Shoot
- Panorama Village
- Grangerland
- Plantersville
Lake Conroe Communities
- Lake Conroe
- Bentwater
- Walden on Lake Conroe
- April Sound
FAQ
Drywall Repair Questions Conroe Homeowners Ask
How much should a drywall repair cost?
Most of the cost comes from the time spent finishing the patch rather than the material itself, so a pinhole and a fist-sized hole can cost nearly the same. Published market ranges put this work between $250 and $1,800, with most jobs falling near the middle of that range. The on-site visit is free, and your written estimate sets the final price.
What is the most effective way to repair drywall?
Repairs fail at the edges rather than in the middle, and those edges are what show later. A repair that holds is sized to the opening, fastened to solid backing, and taped across the joint instead of relying on filler alone.
Can I patch drywall myself?
Yes, holes under about 1/2 inch in a painted wall are a good fit for light spackling paste. What gives a home patch away is usually the finish rather than the fill, because grazing light exposes every ridge. Anything that needs backing, tape or texture matching is a different repair, and correcting a failed patch costs more than fixing the original damage.
Is it cheaper to repair or replace drywall?
A repair costs less than replacing a full sheet until one wall has several separate breaks. Each break adds its own finishing labor, so four small patches can cost more than hanging a single 4 by 8 foot sheet. We make that call at your wall.
How big of a hole can I repair in drywall?
Anything under about 6 inches is routine patch work. Once the damage extends beyond the clear space between two studs, roughly 14-1/2 inches, installing a new sheet becomes the simpler repair. The real limit is what the patch has to fasten to, not the width you measure, so a small hole over an empty cavity is harder to repair than a wider one that reaches a stud.
Do hairline drywall cracks need repair?
Cosmetically, a settled hairline crack under about 1/16 inch can wait. If it reopens after filling, the joint is still moving, and a crack you have repaired twice only to see it return twice is worth having inspected. Wide, stepped or repeatedly reopening cracks warrant another qualified professional.
How does drywall get damaged?
Most drywall damage falls into three families: movement, impact and water. Nail pops, settlement cracks, opened seams, doorknob holes and access cuts all fit within those groups. The most common self-inflicted damage is an anchor driven into the hollow between two studs, where the board alone provides little support. A foot put through a ceiling from the attic causes the most damage at once.
What is considered minor drywall repair?
Dents and nail holes under about 1/2 inch in a painted wall count as minor repairs. The dividing line is tape, because once tape is needed, the fill becomes a joint, and a joint has to be built up rather than simply wiped smooth. Minor repairs still receive the same three coats of joint compound, and no repair is too small for you to book.
Get a Written Price on Your Drywall Repair
We come out to inspect the wall, and the visit is a free estimate with no obligation. Before you decide anything, you get a clear patch-or-replace recommendation and a written drywall repair quote.
We serve Conroe and Montgomery County. Call (346) 706-5743 or use our quote form for a clear price on your project.