
Drywall Ceiling Installation in Conroe, TX | Conroe Drywall Co.
Conroe Drywall Co. has handled drywall ceiling installation for homeowners and builders in Conroe, Texas for over 15 years, covering new construction and additions, ceiling replacement in finished rooms, garage conversions, enclosed patios, and sloped ceilings that follow the roofline. The decisions made before the board goes up are the most expensive ones to change later.
Unlike a wall, a ceiling supports its own weight against gravity for the life of the house, so how the board will be held is settled before any material is ordered. The framing overhead, whether ceiling joists or roof trusses, sits at 16 or 24 inches on center. Screws into a ceiling run about 12 inches apart, closer than on a wall because the sheet is constantly pulling downward. ASTM C840 is the published standard for installing and finishing gypsum board, and we follow it.
Whole sheets are raised into place with a panel lift, then seam taping and joint compound close the joints to the smooth finish expected on a ceiling. Suspended tile ceilings, ceiling repair, and popcorn removal are separate services we also provide.
We work across Willis, Montgomery and the Lake Conroe communities, throughout Montgomery County, and what you get is a flat ceiling that stays flat and takes paint without visible shadows. Call (346) 706-5743 for a free on-site estimate and a written price.
Get A Free Estimate
When a Room Needs a Ceiling Built
Every ceiling drywall installation ends the same way: gypsum board, the paper-faced panels that create the flat surface overhead, is fastened to the framing above, the seams are taped, and the entire ceiling is finished smooth enough for paint. What changes from one job to the next is what is already in the room and what needs to come out before work begins. Nearly every new ceiling we hang falls into one of four project types, and yours will fit into one of them.
A Ceiling in a New Room or an Addition
New construction is the simplest version because the ceiling framing is still open. With nothing to demolish, the joists or trusses are visible from end to end, so we can sight the entire plane and shim any low framing with thin, tapered strips of wood.
The ceiling goes up before the walls, allowing the wall sheets to rise afterward and hold its edges tight. Room additions are a common example, and an empty space gives us enough floor area to swing a full 4 by 12 sheet into place instead of cutting it down to fit.
Replacing the Ceiling in a Room That Is Already Finished
A ceiling replacement begins with protecting the room before the old ceiling comes down. Once the joist cavity is open, anything exposed there can change the scope of the remodel, so we set your price after that inspection.
Texture installed before 1990 can contain asbestos, so we arrange lab testing before any scraping begins and remove only material the results clear as safe. We handle the asbestos testing and never scrape, remove or dispose of the material ourselves.
A wet reading in the cavity is the other point where work stops. Active mold or the moisture source itself may need another qualified trade first, and stopping the leak at its source is a separate trade.
Garage Conversions and Enclosed Patios
Residential drywall ceiling installation in a garage conversion or enclosed patio gives the space its first finished ceiling, so no demolition is needed. Overhead, the rafters, joists, or unfinished attic floor remain exposed, with framing spaced 16 or 24 inches apart.
Where a bedroom or bonus room sits above the garage, the ceiling becomes a separation assembly built to slow the spread of fire. Code requires Type X board there rather than ordinary half-inch drywall. Type X provides greater fire resistance, and using plain board in that location is the kind of defect a home inspector flags when the house is sold.
Ceilings That Follow the Roofline
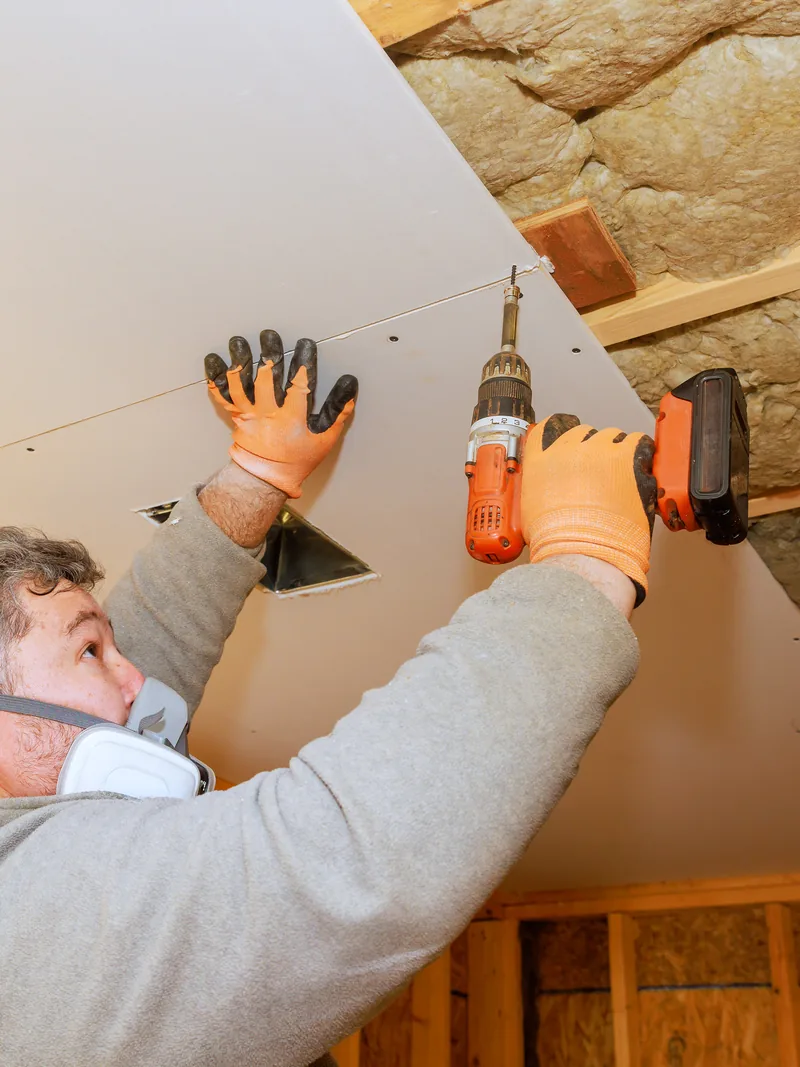
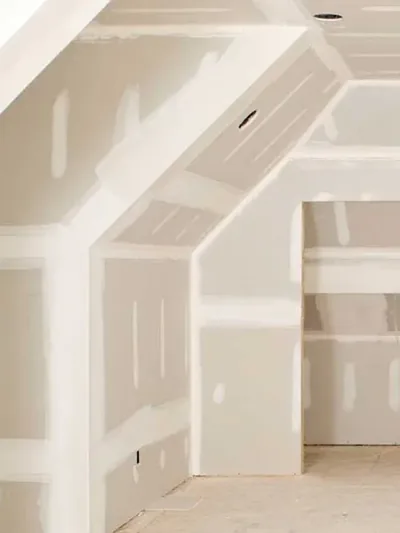
A vaulted or sloped ceiling follows the roofline instead of sitting flat, so the ceiling drywall is fastened directly to the rafters or the undersides of the trusses. Each sheet has to be held at an angle while it is secured, which is why these rooms require a larger crew.
Your eye naturally follows the slope, so we plan the seam layout before hanging begins. The ridge at the top and the line where the ceiling meets the wall are the two joints that stand out most, and both are among the hardest places on a ceiling to make disappear.
Framing and Board Selection
Ceiling framing is the structure spanning the room overhead, whether joists or trusses, set at fixed spacing measured on center. It is the one part of your ceiling you can still change, and whatever is wrong up there stops being reachable the moment the first sheet covers it. A low joist, framing spaced too wide for the board you selected, or a plane that runs out of flat across the room all become much harder to correct later, and fixing them then means taking the ceiling back down.
So before we order board for your room, we measure the framing, correct anything that is out of line, and add furring wherever the ceiling plane needs it.
Why a Ceiling Sags When a Wall Does Not
Gravity never stops pulling on a ceiling, so ceiling sag can develop gradually without a visible break, showing up instead as a shallow wave between the joists that you first notice when side light crosses the room.
Several things add permanent weight to the board, all of it dead load, meaning weight that stays in place rather than coming and going. Blown insulation, the loose material spread across an attic floor, rests directly on the back of the drywall, and a deep layer bears on the entire ceiling at once. Spray texture, the wet-applied finish that creates the ceiling pattern, saturates the paper facing and is heaviest while it dries.
Under that load, the fasteners usually hold while regular half-inch board is the part that gives way.
Joist Spacing and the Board That Suits It
Joist spacing is measured on center, from the middle of one joist to the middle of the next. Homes here are framed at 16 or 24 inches on center, with roof trusses typically set at the wider spacing. We verify that measurement in your room rather than relying on the plan alone.
Three types of ceiling board match those framing spans. At 16 inches on center, ordinary half-inch board has enough support to stay flat. At 24 inches, the better choices are half-inch sag-resistant board, formulated to hold the wider span without bowing, or five-eighths board, the stiffest of the three.
We will not hang ordinary half-inch board on framing spaced 24 inches on center. At that span, either a water-based texture sprayed onto the face or the weight of insulation resting on the back adds enough load to make that pairing unsuitable.
Furring, Shims and Getting the Plane Flat
Framing lumber bows along its length and curls across its width as it dries, so a ceiling plane that varies by a quarter inch across a room is normal rather than defective. We check the entire plane at once with a string line stretched across the room or a laser level, because comparing one joist to the next tells you nothing about where the ceiling ends up at the far wall.
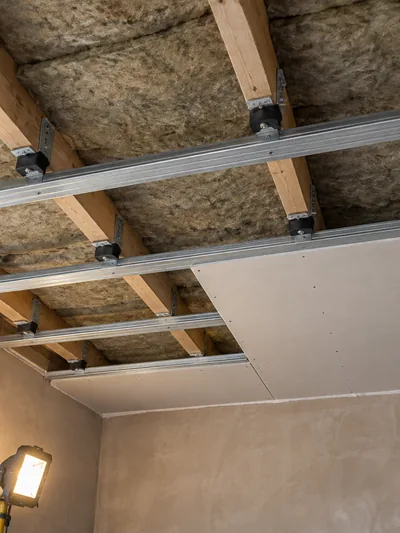
A low joist is brought into plane with shims at its face, while one that stands proud is planed down. If the entire ceiling wanders, we install furring strips, lengths of lumber run across the underside of the framing, and shim them level to create one continuous fastening surface across a mix of old and new joists. On a replacement, furring also lets us set the new ceiling just below an existing plane that cannot be moved.
Resilient channel resembles furring, but it serves a different purpose and belongs to our drywall soundproofing service.
What Makes Drywall Ceiling Installation Different From a Wall
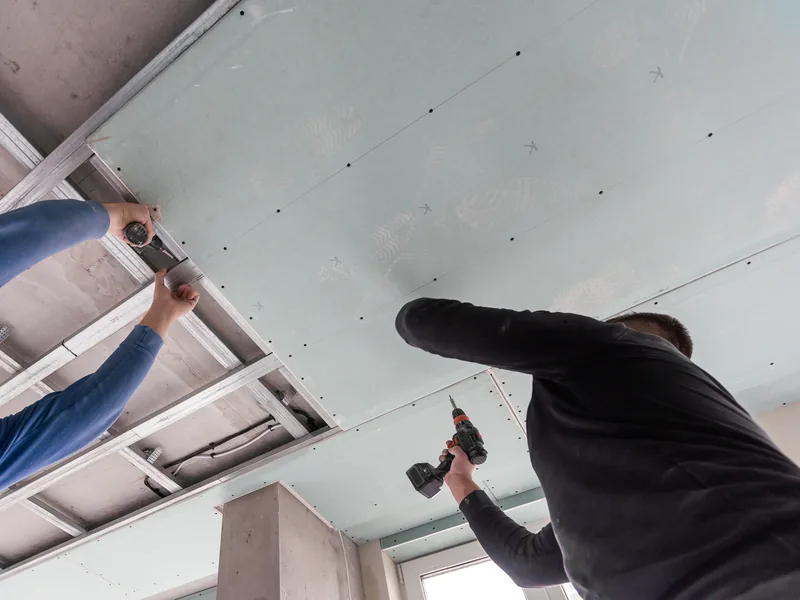
Drywall ceiling installation is the work of covering the framing overhead in gypsum board and finishing it into the flat white surface above you. A wall sheet rests on the floor while it is screwed into place, so the framing and floor carry the weight while the crew steadies it. A ceiling sheet has nothing beneath it except the crew until the screws are set. That difference determines the tools we use, the direction the sheets run, and the screw spacing, all of which are planned before the first sheet leaves the stack.
Those decisions are built around a 4 by 12 sheet: four feet wide, twelve feet long, and heavier than it looks.
The Panel Lift, and Why Sheets Go Up Whole
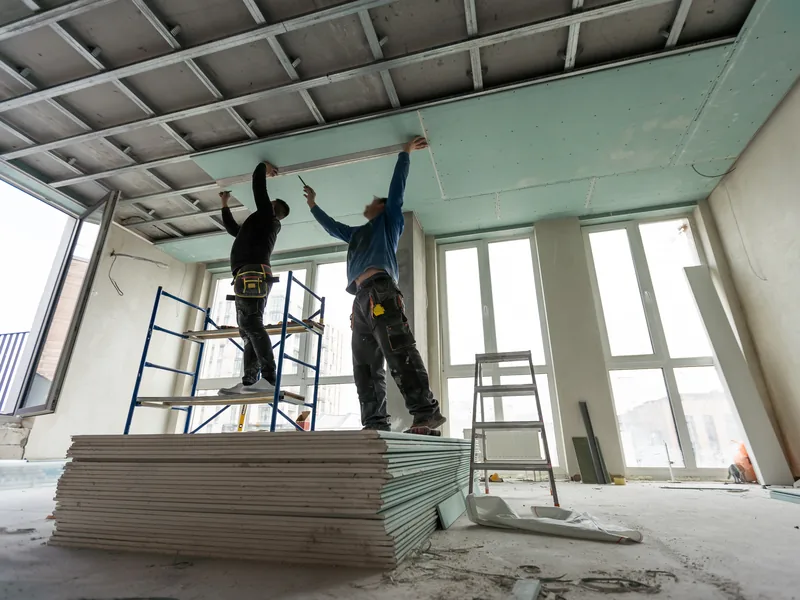
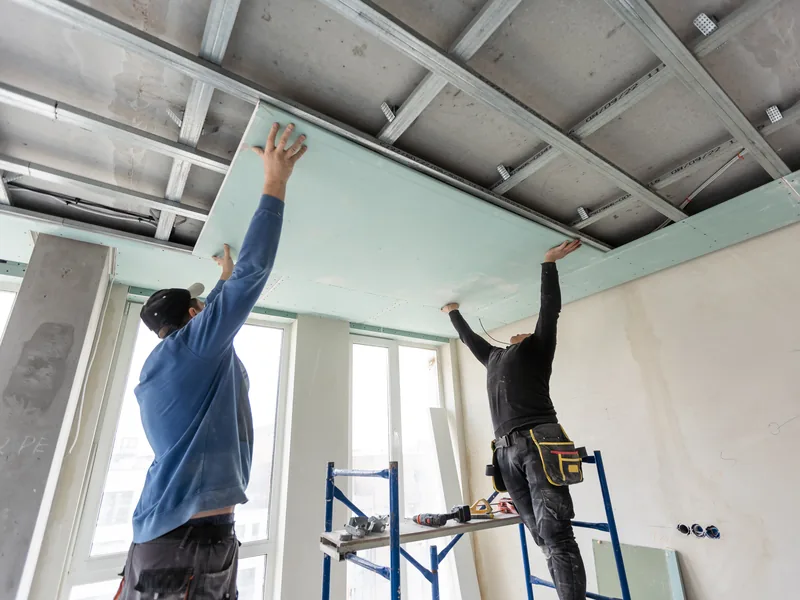
A panel lift is a wheeled cradle that raises a full sheet flat against the framing and holds it there while the screws are driven. Its purpose is to carry the weight, because a full sheet of five-eighths board is too heavy to hold steady overhead while fastening it accurately. Before drywall lifts became standard, crews used a deadman, a T-shaped brace wedged between the sheet and the floor.
The lift also lets us keep gypsum board sheets whole. Cutting a ceiling into smaller pieces light enough to hold by hand creates more seams, and seams are the first flaws to show. A sheet that is raised once and set once also avoids being dragged into position, so its paper face reaches the ceiling unscuffed.
Which Way the Sheets Run, and Where the Seams Land
Sheets run across the ceiling joists rather than along them, crossing several at a time. That helps tie the framing together and spreads out small variations in height, so one low joist does not show through as a visible dip.
Seam layout depends on which sheet edges meet. The long edges of a sheet carry a tapered edge, a shallow recess a few inches wide, so when two come together, the tape and joint compound sit below the surrounding board face and can be finished flat. A butt joint forms where two cut ends meet, and because those ends have no recess, the compound has to build above the surface and be feathered out wider. We use the longest sheets the room will accept to minimize butt joints and place the ones that remain away from windows and light fixtures.
Screws Into Joists, and the Ones That Miss
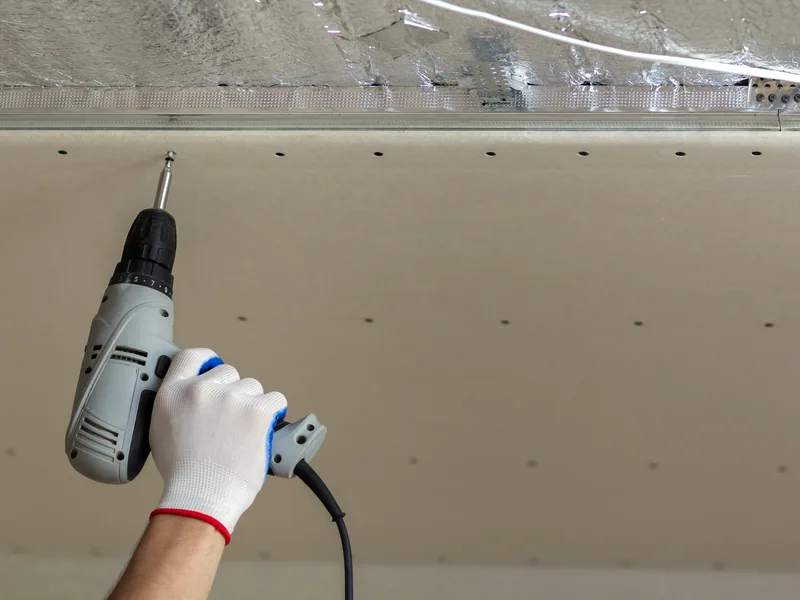
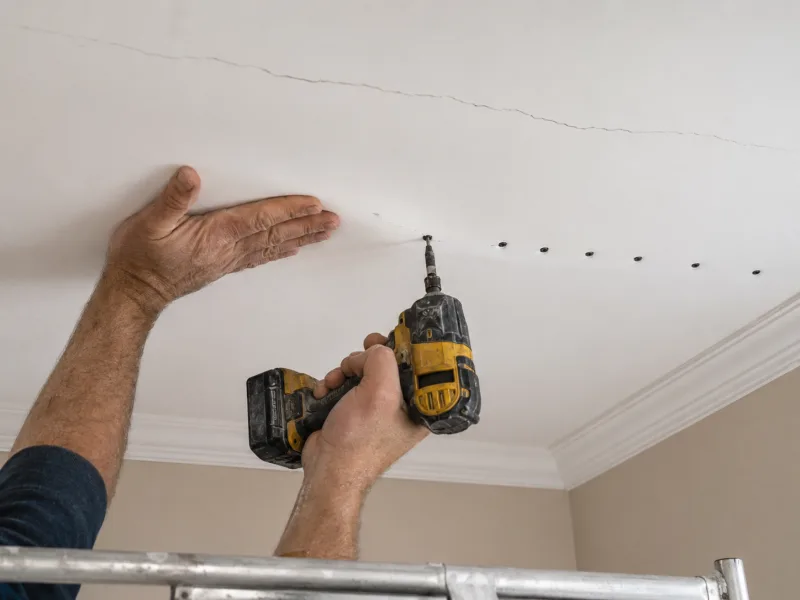
Drywall screws are spaced about 12 inches apart along each ceiling joist, compared with 16 inches on a wall. ASTM C840 is the published standard behind that fastener spacing, and the tighter pattern is needed because every overhead screw carries the weight of the sheet rather than simply holding it in position. We mark the joist centers on the walls before hanging begins, because the board hides them as soon as it goes up.
Each screw is set just below the paper face without breaking through it. An overdriven screw tears the paper and loses much of its grip, while a screw that misses the joist holds nothing and leaves only a hole. We back those screws out and drive new ones correctly; covering them with compound is not a fix.
Near the walls, we leave screws out on purpose. Within about 12 inches of the corner, the ceiling edge is left unfastened and supported by the wall board below. That lets the corner move slightly as the framing above gains and loses moisture through the year, while a corner fastened tightly on both sides has no room to move and can crack in a straight line. This floating interior angle is set out by the Gypsum Association in GA-216, its specification for applying and finishing gypsum panels.
One ceiling is different. Where a rated assembly is required, GA-216 rules out the floating angle and requires the corner to be fastened because the fire rating depends on the entire assembly being built exactly as it was tested. The same requirement governs fastener spacing, so a rated ceiling follows the tested design's schedule rather than the 12-inch spacing above. Both requirements are part of the rated work we do.
Seams and Coats Across a Whole Ceiling
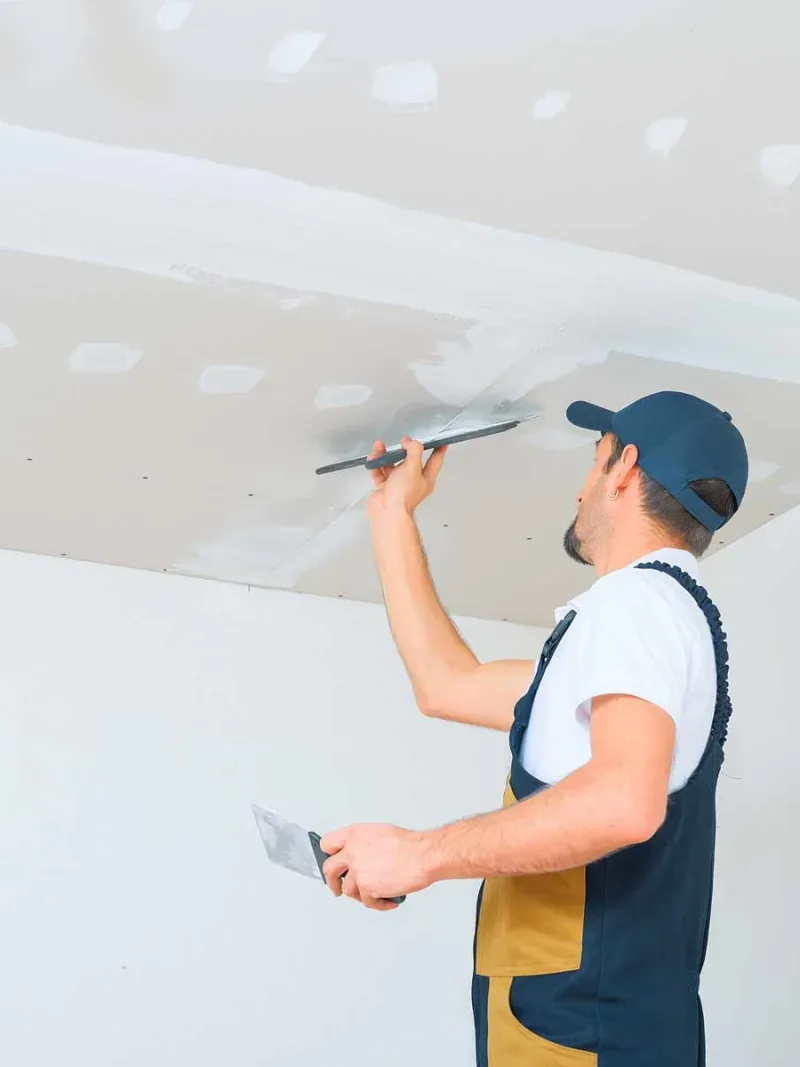
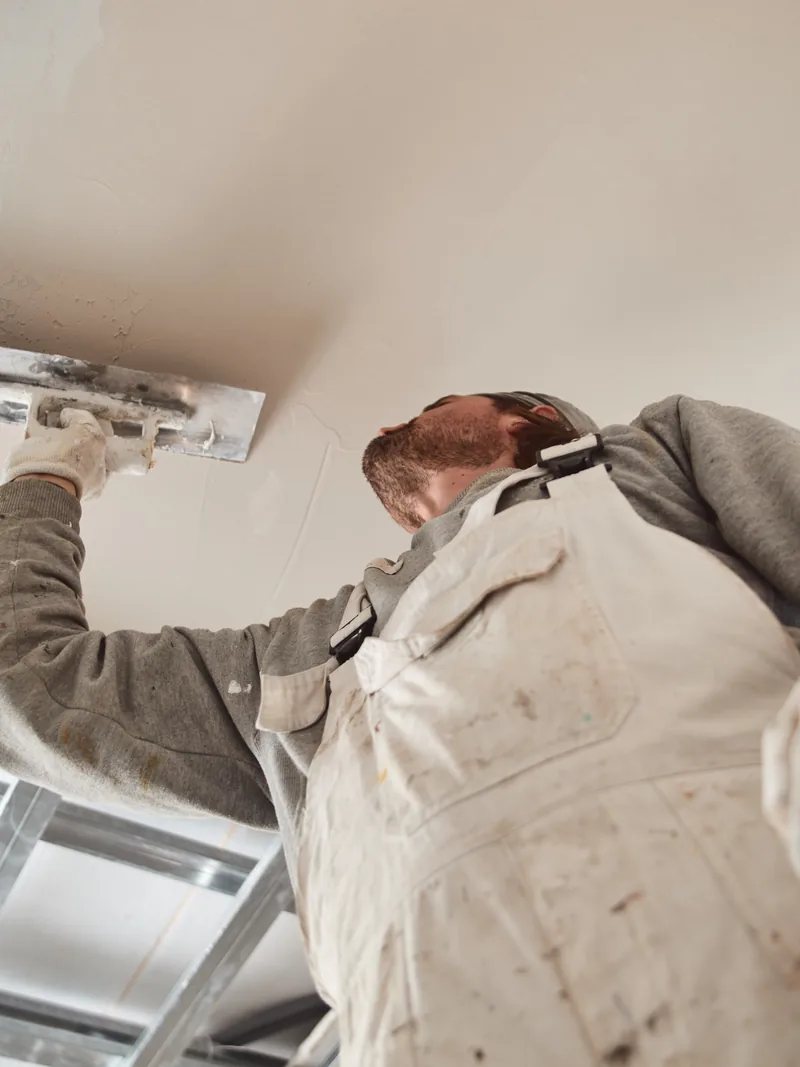
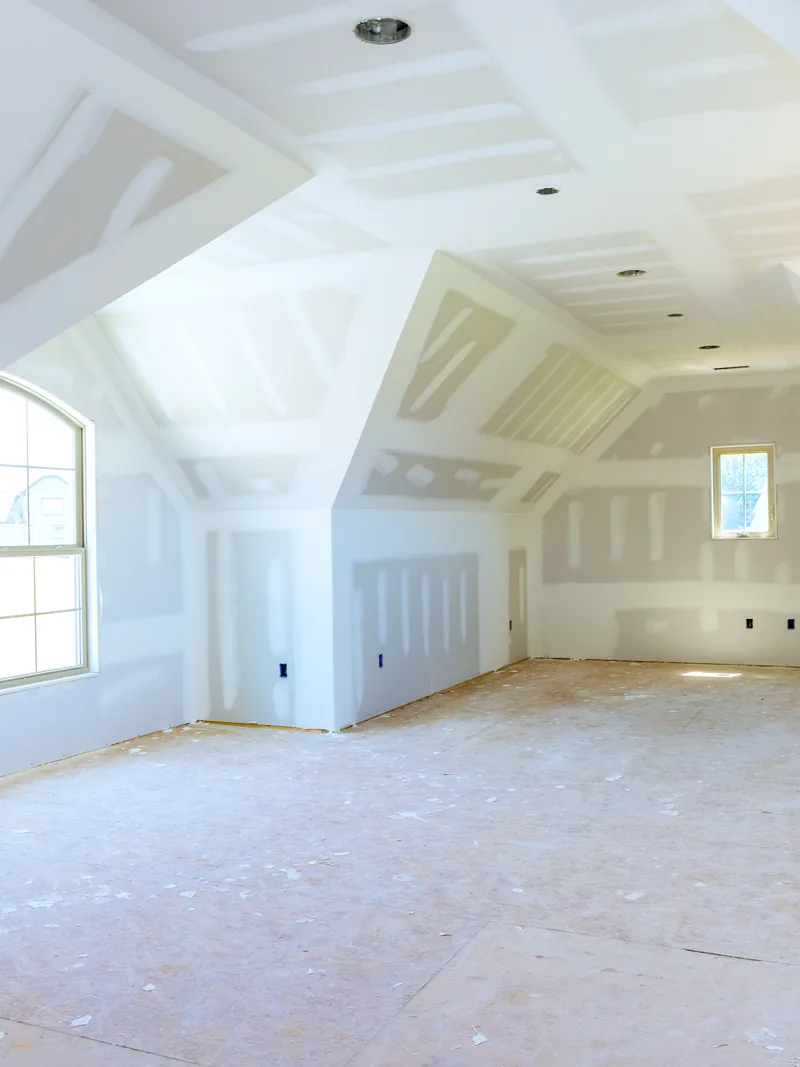
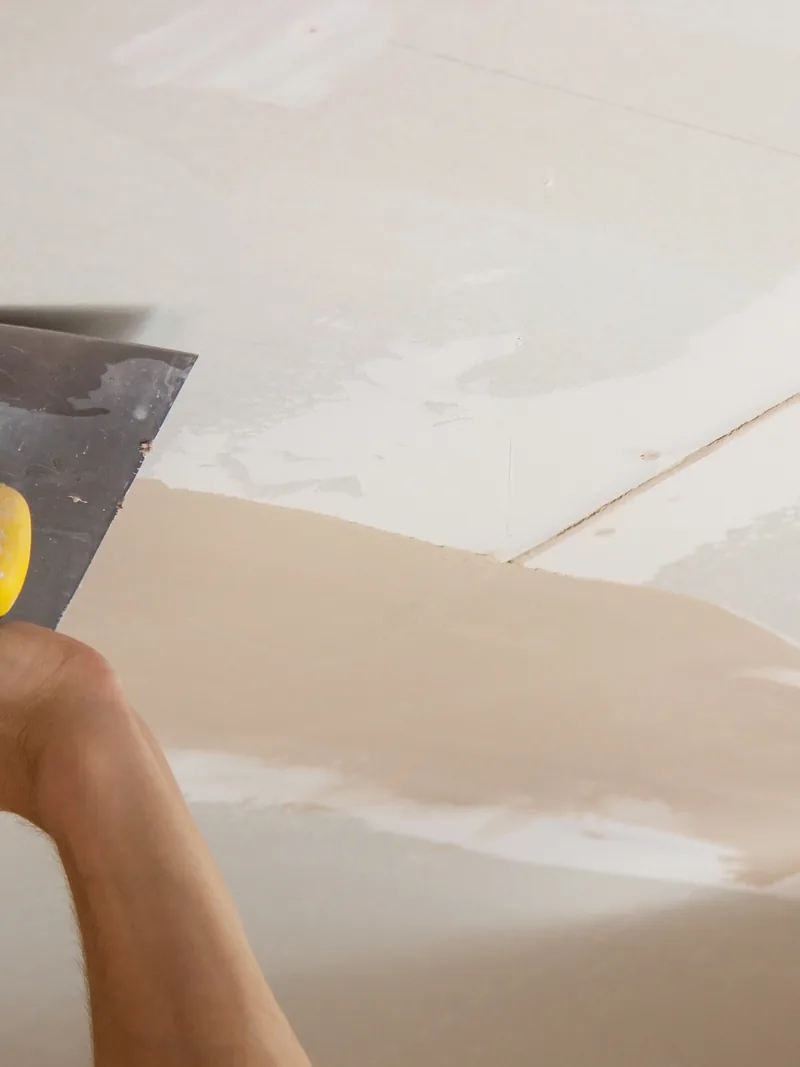
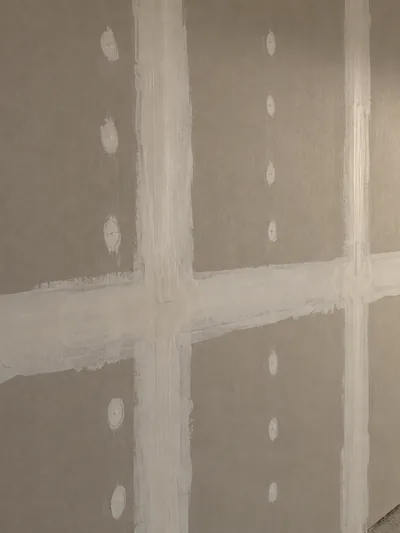
A new ceiling starts as separate boards and has to finish as one continuous surface. Every joint where two boards meet is filled and brought level with the surrounding board, because your eye reads the ceiling as a single plane and picks out any joint that sits high. That makes this different from repairing one joint in an existing ceiling. The work moves in coats across the entire room, so the room sets the pace, and that pace depends on how long each coat takes to dry.
Taping Overhead, Against Gravity
Taping bridges each gap between boards with joint tape and embeds it in joint compound, the soft filler that dries hard. Paper tape is a plain paper strip bedded into wet compound, while mesh tape is a self-adhesive web pressed onto dry board and filled afterward. Because a ceiling seam is pulled apart along its length, paper tape resists that tension better, so it is what we use overhead.
Compound spread across the underside of a ceiling is working against gravity for as long as it stays wet, so we mix it stiffer than we would for a wall. Setting-type compound helps further because it hardens through a chemical reaction rather than by giving up water, allowing a heavier first coat to set in place instead of sagging out of the seam. On long runs, an automatic taper applies the tape and bedding compound together in a single pass.
Building Out a Butt Joint So It Disappears
Where two sheet ends meet, their faces come together flush with no recess to hold filler, so everything added to that seam sits above the surrounding board. There are two ways to control the resulting ridge. Back-blocking creates a recess by using a block behind the joint to pull the two ends into a shallow hollow, giving the filler somewhere to sit. Because that block is installed before the sheets are fastened, back-blocking is a hanging decision rather than a finishing one.
Feathering is the other approach, spreading the compound so gradually that no edge remains for your eye to catch. On a ceiling, that spread runs considerably wider than it would on the same joint in a wall, and the final coat is sanded until it blends into the surrounding board.
How Many Coats, and How Long Each One Takes Here
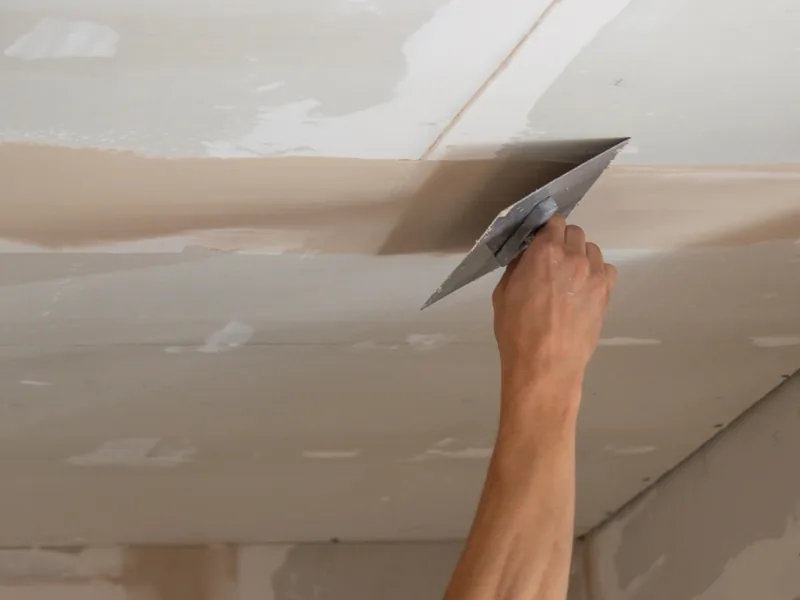
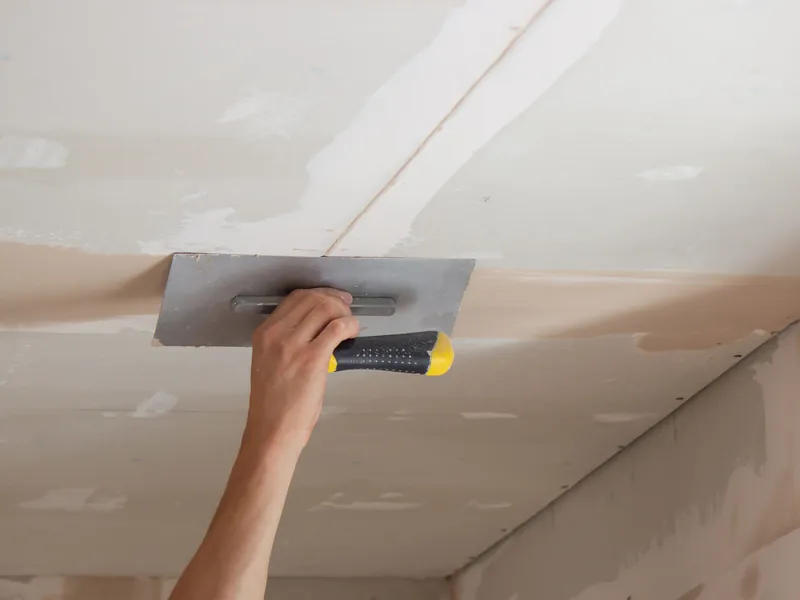
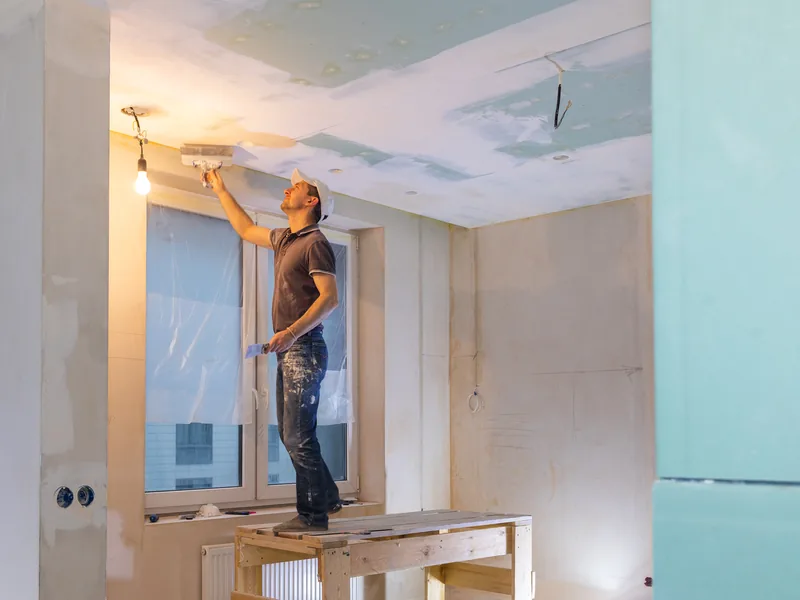
Mudding a taped seam takes three coats: the bedding coat secures the tape, the fill coat brings the seam level, and the finish coat adds a thin skim. Each coat spreads wider than the one before it and dries fully before the next goes on.
Conroe’s humid subtropical air slows the rate at which joint compound releases water, so drying time runs longer than the bag suggests. If the next coat goes on before the one beneath it is dry, the compound continues to shrink and the seam returns as a visible line through the paint. Because ceiling seams are coated across the entire room, one slow coat delays the whole schedule. Moving air helps, and running your own air conditioning during the job is the most reliable way to shorten the wait. Once the final coat is sanded, a drywall primer-sealer goes on before the paint.
The Finish Level a Drywall Ceiling Installation Is Held To
Every drywall surface is judged against a scale of finish levels that tops out at Level 5, and GA-214 is the industry document that defines what each level requires. A ceiling meant to stay smooth is held to that top level far more often than the walls in the same room because of the way light strikes it. Light reaches a ceiling at a shallower angle than it reaches a wall, making every ridge and hollow in the surface easier to see.
Raking Light, and Why a Ceiling Shows Everything
Raking light travels almost along a surface instead of striking it head-on. A window on one wall sends it across the ceiling through the afternoon, while a recessed downlight set into the ceiling does the same in every direction from just a few inches away. At that shallow angle, even a rise of a few thousandths of an inch casts a visible shadow. The same rise on a wall is lit more squarely and is far less likely to catch your eye.
The answer is a skim coat, a thin layer of joint compound spread across the entire ceiling rather than only over the taped seams. Once the seams and open field are covered the same way, they take paint evenly and reflect light with the same strength, leaving no raised edge or surface change for shadows to reveal.
Smooth or Textured, and What That Choice Costs You Later
A new ceiling is finished either smooth or with a sprayed texture, and both are common in Conroe homes. A smooth ceiling needs a skim coat across its full width because there is no texture to hide surface variation. A textured ceiling breaks up the light before it can rake across the surface, so the drywall beneath it can be finished one grade lower. That is why a textured ceiling is usually priced below a smooth ceiling of the same size.
The tradeoff shows up later in repairs. A damaged area of texture has to be blended into the surrounding pattern, while a smooth ceiling never requires texture matching. When we add a room to an existing house, we match the new ceiling to the ceilings you already have.
The Last Look Above Before the Ceiling Closes
The ceiling is the last surface to close, and once the gypsum board is screwed into place, everything above it is sealed inside the ceiling cavity, the space between the joists where wiring, ducts and insulation run. That sets the order of work. Rough-in comes first, with every wire, pipe and duct installed and secured while the cavity remains open. After that work passes inspection, the insulation goes in, and only then is the ceiling drywall installed. Anything left unfinished before the board closes has to be reached later by cutting a hole in the new ceiling.
Wiring, Bracing and Anything Fixed to the Framing
Every light and ceiling fan box is fastened to the wood framing during rough-in, never to the drywall itself, because board alone carries no weight. A ceiling fan is heavier and moves while it runs, so it needs a fan-rated box mounted to a fan brace, an adjustable bar that spans between two joists. A standard light box will not support one, and once the ceiling is closed you cannot tell which box is behind the board. Speaker wire and vent runs go in at the same stage. If recessed lighting is added after the ceiling is finished, we have to cut into the new surface, then tape, coat and blend the repair.
What Goes Above the Board, and What Must Not
Before anything closes, we check the framing with a moisture meter, a handheld instrument that measures how much water the wood contains. Drywall fastened to damp framing traps that moisture against the paper facing on its back, where damage develops out of sight. In Conroe’s humidity, a cavity that was wet last week may still read wet, so if the meter shows excess moisture, the board waits rather than going up twice. Drying a soaked structure and rebuilding afterward falls under our water damage drywall repair service.
No polyethylene vapor retarder goes above a ceiling here. Conroe sits in Climate Zone 2, a hot humid zone where moisture moves inward from outside, so a plastic sheet on the interior face traps that water inside the cavity. Before we close the ceiling, we check the supply ducts and can lights because both sweat in a hot attic.
Hanging a New Ceiling Over One That Is Still There
A ceiling overlay puts a new sheet of gypsum board directly over the existing ceiling, with screws driven through the old surface and into the framing above, so the original ceiling stays in place beneath a second finished surface. Homeowners choose a ceiling overlay to avoid demolition, the dust that comes with tearing a ceiling down, and the haul-off afterward. Putting drywall over an existing ceiling is the right approach in some rooms and the wrong one in others, and the room itself determines which applies. A second layer added to quiet a room between floors belongs to the soundproofing side of our work, while one added to meet a fire rating belongs to the rated-assembly side.
When an Overlay Works, and When It Does Not
An overlay works when the existing ceiling is sound, dry and still firmly fastened to the framing, and when the room can give up the added height because the new layer lowers the ceiling by half an inch or more. It is ruled out when the old ceiling is loose, sagging or water-stained, or when the cavity above still needs to be inspected and has not been. Any textured ceiling installed before 1990 is tested before anything covers it, never overlaid on a guess. Your crown molding, door casings and window trim all come off first and go back afterward.
What the Second Layer Weighs, and Where Its Screws Go
Two layers of half-inch board put roughly twice the dead load of a single layer on the framing, so we check the framing spacing again before approving an overlay.
The drywall screws have to pass through the old board and bite into the joist behind it, which usually means using a 1 5/8 inch screw for a half-inch layer over half-inch board. A screw that grips only the old ceiling holds nothing. Because the joists are hidden behind the surface we are fastening into, we locate them first and then stagger the new seams away from the old ones.
Why Choose Conroe Drywall Co. for Drywall Ceiling Installation
Conroe Drywall Co. has been hanging and finishing ceilings in Conroe and Montgomery County for over 15 years. What you are really buying is the set of decisions made before any board arrives, and the only way to judge those decisions in advance is to see them in writing. That is how we quote: an estimator measures the room and what your framing will carry, then puts the full scope on paper.
From your first call through the final coat, here is what the job looks like:
- An estimator comes to your home, measures the ceiling and checks the framing above it before writing any price. The visit is free.
- You approve a written price and scope before we order a single sheet, so nothing is purchased based on a verbal agreement.
- Before the first cut, your room is emptied or covered, the floor is protected, and the work area is closed off, then sealed again before sanding.
- If a warranty-related concern comes up after the work is complete, you get a prompt response.
We are insured and follow established industry practices, including ASTM C840 standards for gypsum board installation and finishing. Our on-site estimates are free, and financing is available for larger projects.
What a New Drywall Ceiling Costs
We price a new ceiling by the square foot of ceiling area rather than by the room, so a long narrow bedroom and a square room with the same ceiling area cost about the same to cover. For drywall ceiling installation cost in this area, new installation runs about $2.00 to $3.50 per square foot installed. That is a market range for Conroe and the surrounding towns, not a rate we have quoted you. Your actual price is set after someone measures the room and checks the ceiling height, layout and what is already overhead.
What Moves the Price on a Ceiling
Several cost factors move a ceiling toward one end of that range or the other, and most come down to access, board choice and finish rather than total area.
- Ceiling height. Above about nine feet, ladders are no longer safe or steady enough for the work, so the crew uses staging, a raised platform built inside the room and removed when the job is finished.
- Board choice. Sag-resistant board and five-eighths board both cost more per sheet than standard half-inch board.
- Finish. Smooth ceilings require more finishing work than textured ceilings.
- Taking the old ceiling down. Demolition is priced separately, with its own labor and disposal costs.
- Penetrations. Every light, fan, vent and speaker requires a hole cut to size and a finished edge around it.
- The slope. A ceiling that follows the roofline takes longer per square foot than a flat ceiling because every sheet has to be handled and fastened at an angle.
- The access. Emptying a furnished room and sealing off the work area adds time at the start of the job.
A New Ceiling Against Patching the One You Have
Whether you repair or replace comes down to how much of the ceiling is still sound. Most drywall repairs in Conroe run $250 to $1,800, with the average job landing near $600, so a patch wins easily while the surrounding board is in good condition and the finish can be matched. A new ceiling starts to win once the same room has been patched more than once, or when the texture cannot be matched and the repair shows regardless of how well it was done. If the ceiling is coming down anyway, new board adds little to the total.
Whether your ceiling can be patched or needs more extensive work is what our ceiling repair service determines, and that decision cannot be made from the floor alone. To find out where your ceiling falls within the range above, reach us on (346) 706-5743 or through the quote form. We measure the area on site, the visit costs you nothing, and you receive the price in writing.
How a Ceiling Installation Runs
A drywall ceiling installation follows a short sequence with long drying pauses built in, and knowing where those pauses fall shows you how much of your own time the job requires. Conroe Drywall Co. takes every ceiling through the same five steps, from your first call to the final walk-through of the finished room. You need to be there for three of them: the initial measure, approval of the written scope, and the walk-through at the end.
-
1
You tell us how the room will be used.
-
2
We measure the ceiling on site at no charge.
-
3
You receive a written scope before any work begins.
-
4
The board is installed on hang day.
-
5
The finish coats go on, the ceiling is sanded, and we walk through the room with you.
Hanging the board is the fast part, and a single room is usually completed in one day. The rest of the schedule is controlled by the drying time required between finish coats.
On the first call, we ask what kind of room it is, roughly how large and high the ceiling is, whether a ceiling is already in place, and about how old the house is. Each answer affects the price.
The written scope you receive afterward identifies the board, the finish you approved, and exactly what the price includes and excludes. Demolition and haul-off appear as separate line items. Painting is not included, but priming the new board is.
Before hang day, move the furniture out of the room or pull it to the center and cover it. We close off the room while cutting and seal it again before sanding. The final walk-through takes place under the room's own lights, so you see the ceiling the same way you will every day afterward.

Drywall Ceiling Installation Across Conroe and Montgomery County
About 51 inches of rain falls on this part of Texas in an average year, and the damp air that comes with it stretches a ceiling's schedule here. It is also why we inspect an open cavity before closing it.
The houses here were built in different eras and to different patterns. Established in-town streets, newer subdivisions and lake-area homes can have sawn joists or roof trusses above the finished surface, spaced according to the standards used when each home was built. That is why drywall ceiling installation here starts with a look at your own framing instead of an answer given over the phone.
Where Conroe Drywall Co. Installs New Ceilings
Conroe Drywall Co. installs drywall ceilings across 21 communities, most in Montgomery County, with service extending beyond the county line into Walker County at New Waverly and Grimes County at Plantersville. You will find your community in one of these three groups.
Conroe Neighborhoods and Communities
- Grand Central Park
- Graystone Hills
- Rivershire
- Stewarts Forest
- Downtown Conroe
- Wedgewood
- West Fork
- Tejas Creek
Surrounding Cities and Communities
- Willis
- Montgomery
- New Caney
- Splendora
- New Waverly
- Cut and Shoot
- Panorama Village
- Grangerland
- Plantersville
Lake Conroe Communities
- Lake Conroe
- Bentwater
- Walden on Lake Conroe
- April Sound
FAQ
Drywall Ceiling Installation Questions
Can a handyman put up drywall?
For a wall patch, often. A ceiling is a different job because the sheet has to be held perfectly flat overhead while it is fastened, and the finished surface is judged under raking light. The mistake we see most often is choosing the wrong board for the framing spacing.
Is drywall good for ceilings?
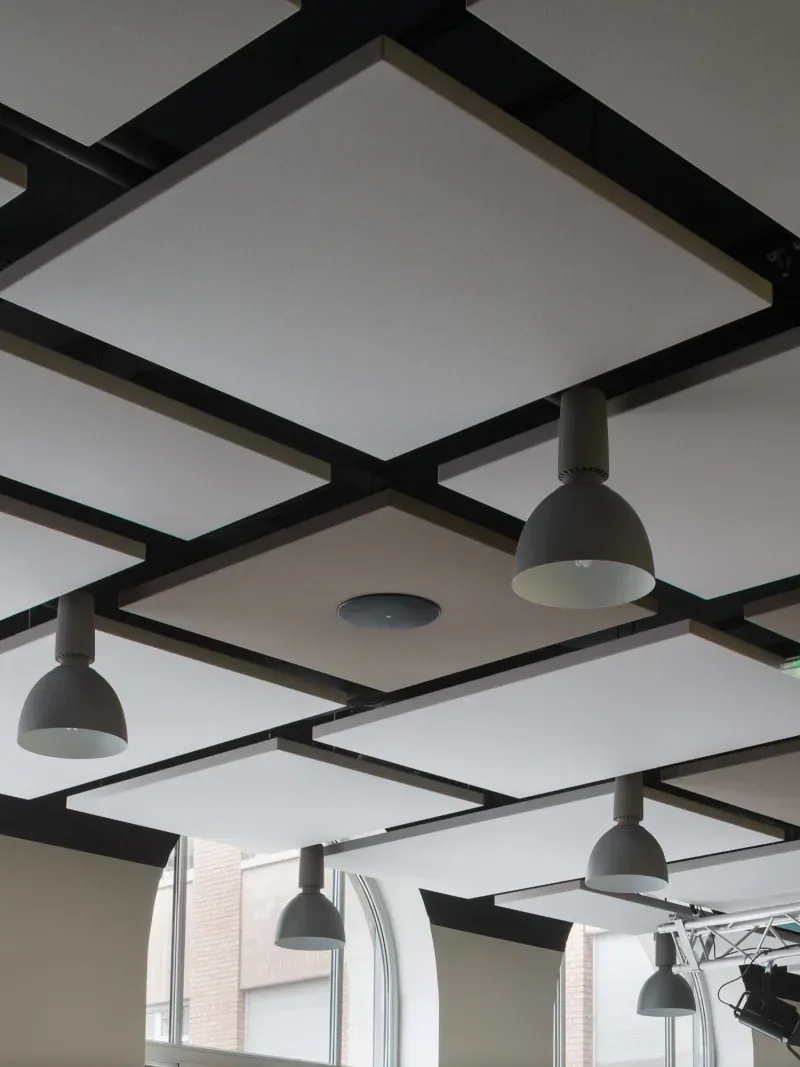
Yes, and it is the standard choice in houses here. You get one continuous surface overhead, with no grid lines and nothing loose to rattle. If you need regular access above the ceiling, a suspended tile ceiling is the better fit, and we install those separately.
How much does it cost to install a drywall ceiling?
New ceilings here generally run between $2.00 and $3.50 a square foot installed. That is the local market range, not a figure we have quoted you. Our free on-site measure is what turns that range into your actual price.
How long does it take to put up a drywall ceiling?
Hanging the board in a single room takes a day. Finishing takes longer because three coats go on, and each one needing drying time before the next is applied. Plan on one day for hanging and the better part of a week for finishing.
Do you have to remove the old ceiling first?
Not always. A ceiling still solid and holding tight to its framing can take a new layer. It comes down when it is loose, sagging or stained. Anything textured before 1990 is tested first, and going over costs half an inch of height.
Does a new ceiling have to be textured?
No. Both smooth ceilings and light texture are common in Conroe houses, so the finish is your choice rather than a default. You decide before we order the board, and that choice goes into the written scope.
Why do new ceilings sag if the board is new?
Almost always, the problem is a mismatch between the board and the span it had to cross: plain half-inch board installed where the joists sit 24 inches apart. Settled attic insulation above and sprayed texture below add the extra weight that finishes it off.
Do I need to move out while the ceiling goes up?
Not for a single room. We seal that room off so you can keep using the rest of the house. Expect two dusty days, one for cutting and one for sanding, with the room sealed during both. For a whole-house job, the schedule depends on how many rooms are open at the same time.
Get Your Ceiling Quoted
The next step is measuring the room, not making a commitment. We work throughout Conroe and the rest of Montgomery County, and the on-site estimate costs you nothing. You receive a written price for the drywall ceiling installation, so you can decide with the exact price in front of you instead of a range. Call (346) 706-5743 or use our quote form for a clear price on your project.