
Drywall Priming & Painting in Conroe, TX | Conroe Drywall Co.
Conroe Drywall Co. is a drywall and painting contractor priming and painting interior walls and ceilings for homeowners and businesses across Conroe, Texas, and has been for over 15 years. When a patch keeps showing through the paint, the primer underneath is usually the reason. Our interior work includes drywall priming and interior painting on new board, sealing and repainting after a patch or repair, preparing walls after wallpaper removal, finishing ceilings after overhead work, and priming before texture is applied. We are insured, and the on-site visit costs you nothing.
A wall is paint-ready once the surface has been sealed. The first coat is a drywall primer-sealer made specifically for bare gypsum and fresh joint compound. GA-214, the Gypsum Association's published finishing standard, calls for primer before any decoration, while ASTM C840 covers how the board is hung and finished beneath it. Without primer, the patch dries shinier or duller than the surrounding wall. We allow about 24 hours per compound coat before priming, longer in Montgomery County humidity, then apply two finish coats of interior waterborne paint.
We work throughout Willis, Montgomery, Panorama Village and the rest of Montgomery County, specifying the right finish for each room rather than applying one by default. Call us at (346) 706-5743 or send the quote form, and we will come out to price your walls.
Get A Free Estimate
New Drywall, From Bare Board to Finish Coat
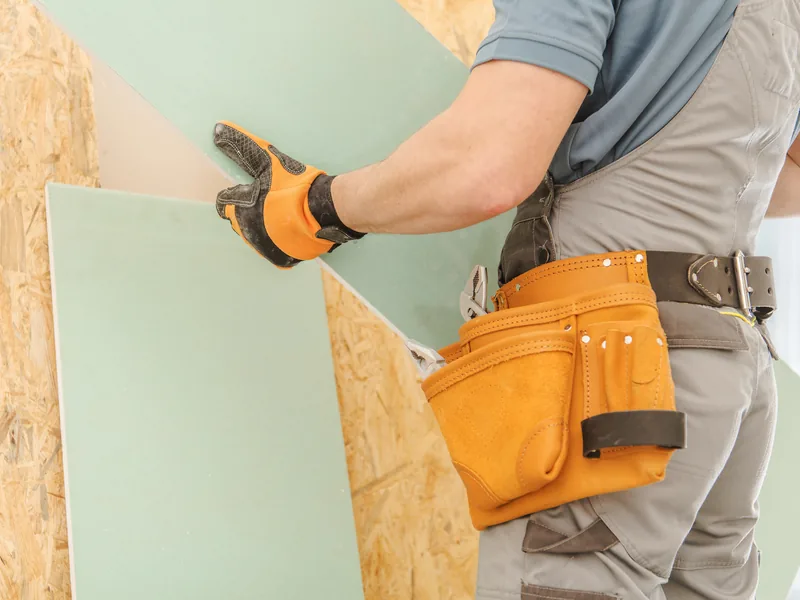
New drywall means board and joint compound that have never been painted, and all three jobs below begin in that condition. First we seal the bare board and fresh compound, then prime before a sprayed pattern, and finally apply the finish coats throughout a new room. As a drywall and painting contractor, we hang the board, patch what needs repair and leave every wall paint-ready, so you work with one crew from the first sheet of drywall through the last coat of paint.
Sealing Bare Board and Fresh Compound
New drywall absorbs a wet coating at one rate, while the dried joint compound over seams and screws absorbs it at another. The trade calls that difference suction. A drywall primer-sealer evens out that absorption, and it goes on after the final sanding and before any color reaches the wall.
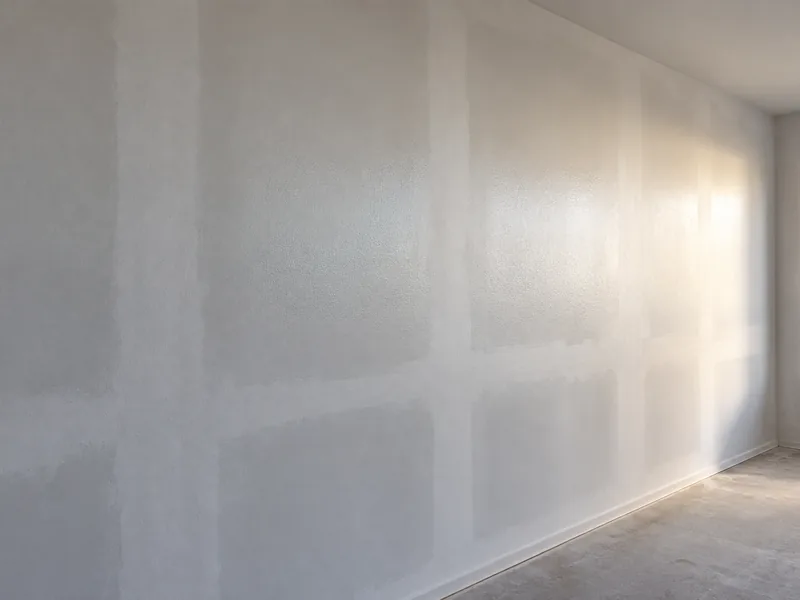
You end up with a primer coat under two finish coats, in that order, with nothing skipped. The primer goes on thin because its job is to seal the surface, not hide it, so a freshly primed wall still looks patchy and is supposed to. Skip that coat and the dull pattern comes back in the exact path of the taping: a line down every joint and a dot over every screw.
Priming Before a Texture Goes On
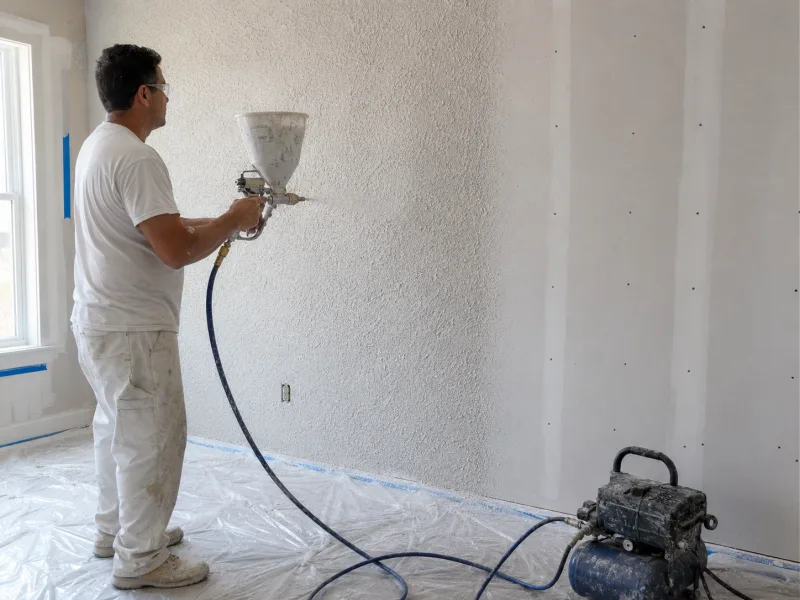
A spray texture is wet compound applied to an absorbent surface. Bare board pulls water from it faster in some areas than others, which makes the pattern dry unevenly. Sealing the board first lets the texture set at the same rate across the entire wall. Once dry, the texture is porous too and needs its own primer before paint, so a textured wall is primed twice: once beneath the pattern and once over it. Knockdown and orange peel are the two patterns you see most often in Conroe homes, and both add surface area, so the same room takes more paint than a flat wall.
The Finish Coats on a Whole New Room
The finish coats are the color you see when the job is complete. We cut in first, brushing paint along the ceiling line, corners and trim edges where a roller cannot reach, then roll the open field of the wall. When a coat is sprayed, we back-roll it while the paint is still wet so it settles at an even thickness instead of building up heavily in spots.
Two finish coats over the primer are standard for interior painting; a single coat looks thin and saves you nothing. We paint ceilings before walls and walls before trim, so any drips or runs land on a surface that has not yet received its final finish. You choose the color and sheen, though the amount of light in the room sets a practical limit on how much sheen the surface can carry.
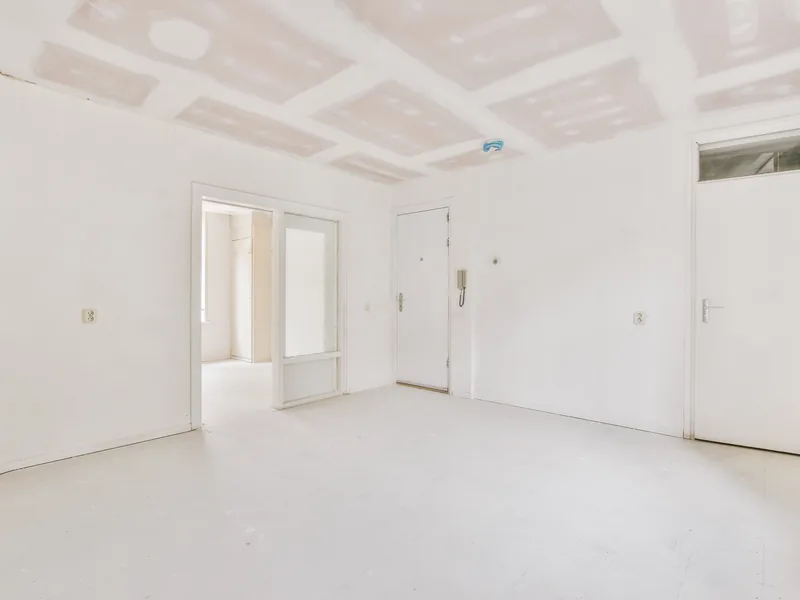
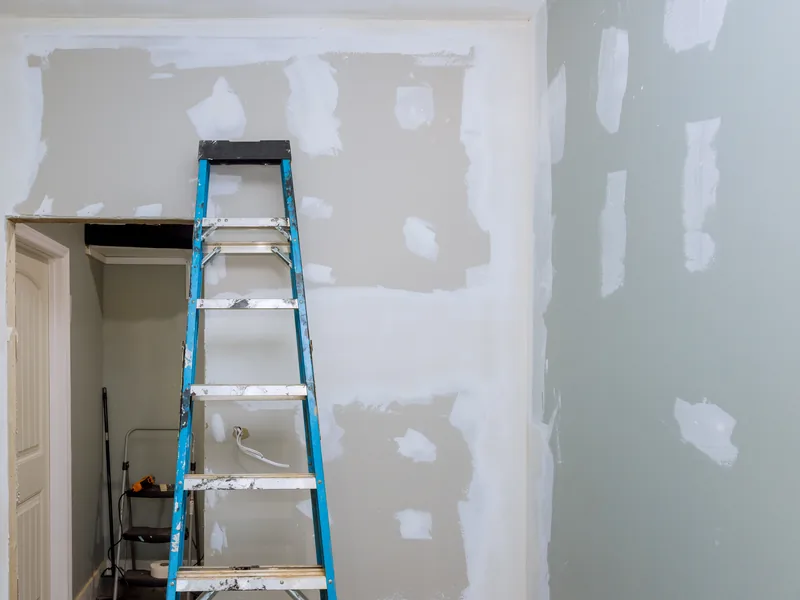
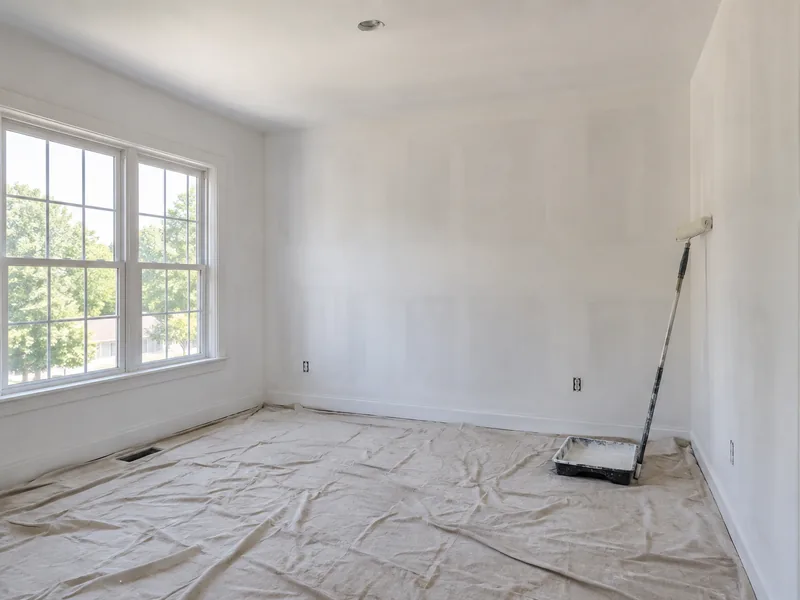
Drywall & Painting in a Room That Is Already Finished
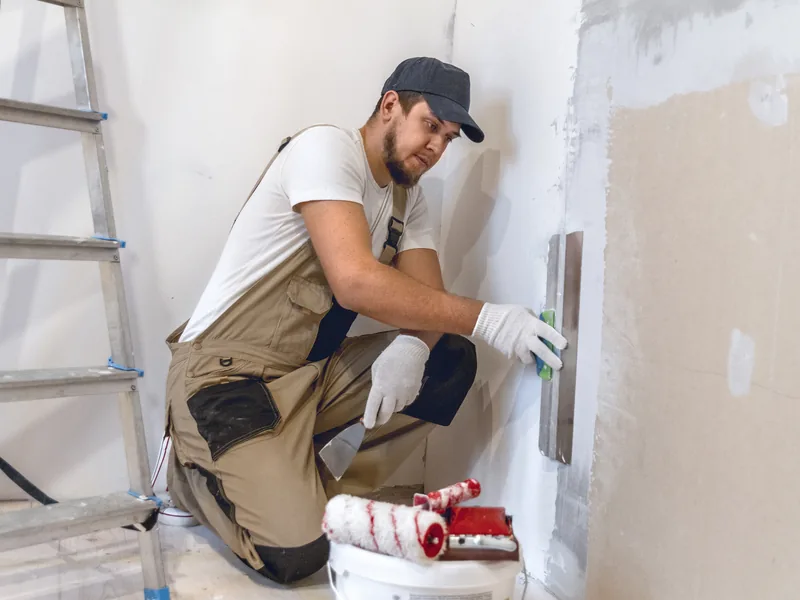
A finished room brings challenges that a bare one does not. The walls already have a color and sheen, the furniture is still in place, and you are living around the work while it happens. That changes the job for a drywall and painting contractor: instead of covering a blank surface, we have to make new material blend into an existing one. Paint that has been on the wall for years has changed with light, cleaning and everyday wear, so it no longer matches the same product straight from the can. In a finished room, the question is rarely what color to use. It is how far the new paint has to extend before the repair disappears.
Three jobs bring us into finished rooms like yours: sealing and repainting a repair, preparing a wall after wallpaper removal, and repainting a ceiling after work overhead. Each starts with a different surface, and each determines the paint boundary in a different way.
Sealing a Patch So It Stops Showing
A patch is a filled and sanded area of joint compound set into a wall that was sealed years ago. Cutting the hole, adding backing and taping it belong to the drywall repair work, and our painter and drywall repair crews leave the surface flat. What remains is still bare compound, which absorbs whatever goes on it. Spot priming that area with a drywall primer-sealer seals the surface so the paint stays on top instead of sinking in. How far the repainting extends is then decided on the wall itself, with you there.
Walls Stripped of Wallpaper
Steaming and stripping the paper is the wallpaper removal work. What remains is a glossy film of adhesive that still dissolves in water. An ordinary waterborne primer softens that paste instead of bonding to it, so we wash the wall first and remove the adhesive rather than painting over it. Where the wallpaper has torn the wall's paper face, we seal those spots before filling because bare paper swells and lifts when wet material touches it. Filling and a skim coat come next, and anything still slick after washing gets a bonding primer instead.
Repainting a Ceiling After Work Overhead
Light from a window or lamp travels across a ceiling at a low angle, so every change in sheen or texture casts a shadow. Ceiling paint is dead flat for that reason, but even flat paint over flat paint shows where one section stops. A ceiling also has no doorway or corner to create a natural break, so we repaint the entire plane from wall to wall. Ceiling repair and popcorn ceiling removal are separate jobs we also handle, and either one leaves the ceiling ready for this finish coat.
Choosing the Primer for What the Wall Already Has on It
Primer is not a single product but a family of sealing coats, and the right one depends on what is already on the wall: fresh board and compound, old stains or marks that keep bleeding through, or a slick painted surface that will not absorb a new coating. Nearly every interior wall falls into one of those three cases. A fourth situation, a major color change, is handled by tinting the primer rather than switching to a different type. That is why one primer does not suit an entire house.
A bedroom finished with new drywall and a hallway coated in gloss twenty years ago are two different jobs beneath the same finish color, so we specify the sealer for each surface separately. Paint and primer in one does not solve that difference either: it is a heavier-bodied paint that works over an already painted wall, but over bare drywall it is being asked to seal and finish the surface at the same time.
None of those primers is paint. Primer is a sealing coat, while paint supplies the color and sheen, so the two do different jobs. Skip the primer and you remove one line from the invoice but leave dull bands showing along every taped joint.
What Flashing Is, and Where It Shows Worst
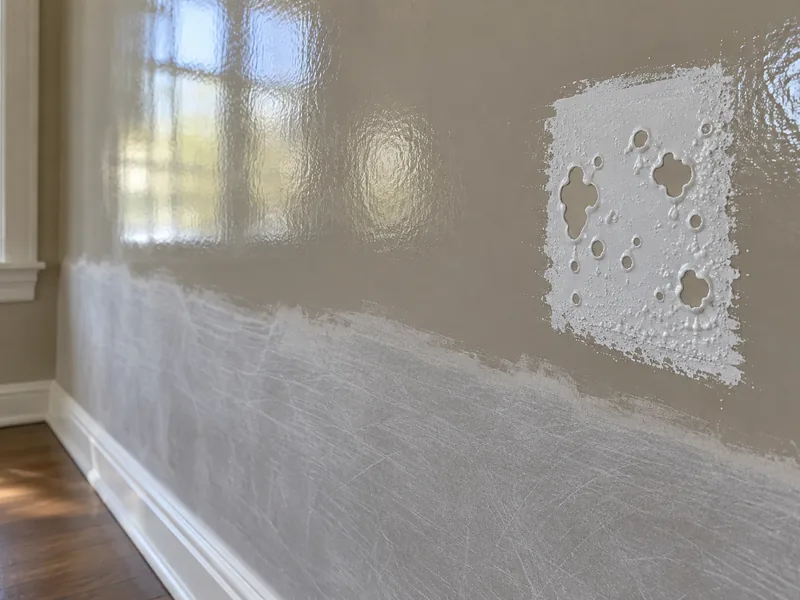
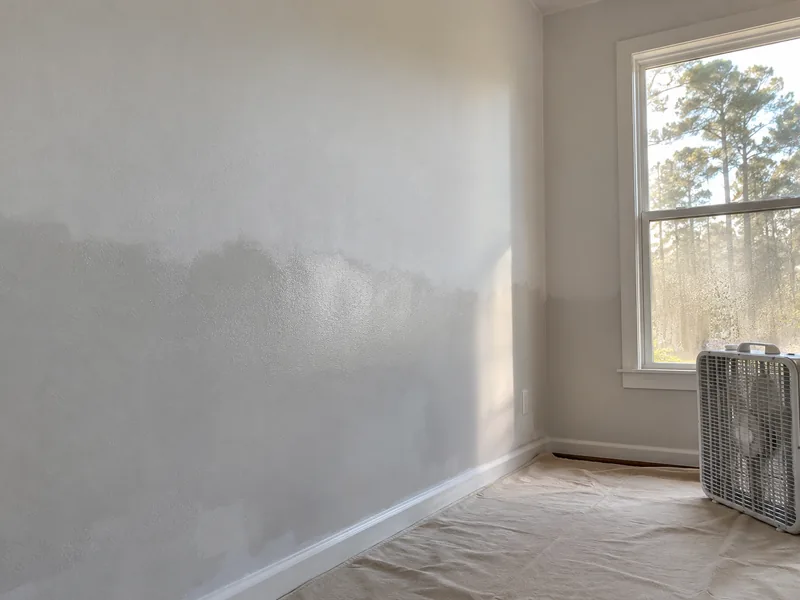
Flashing is an area of wall that dries to a different sheen from the surface around it, creating a shadow or shine even though the color has not changed. It shows most clearly on long, unbroken walls, on walls lit from one end, and under any sheen above flat.
Light traveling along a wall at a low angle, which painters call critical light, makes even a small difference in sheen easy to see. A short section behind furniture hides that change, while a hallway or stairwell lit from a window at one end does not. That is why we decide the extent of the repaint with you instead of applying one rule by default, and why a wall under critical light is usually repainted from corner to corner.
PVA Primer on Bare Board and Fresh Compound
PVA primer is the sealer made for exactly that condition: raw gypsum and compound that has never been coated. It soaks into the open surface and seals it, dries quickly, and costs less than the other primers used here. That makes it the standard first coat over bare drywall and the joints running through it.
Its limits are the important part for a homeowner to understand. Manufacturers exclude glossy and previously painted surfaces because there is nothing open for PVA primer to soak into and it has little grip on its own. It also does not block stains, so anything that bleeds through will return. PVA primer is specified beneath flat and low-sheen topcoats rather than high-gloss enamel.
Stain-Blocking Primer Over Marks That Come Back
Some marks work their way back through fresh paint instead of staying covered. Water stains from an overhead leak do this, as do smoke, marker and crayon. Bleed-through is the old mark reappearing through the new finish, sometimes days after the wall looked complete. One coat of color does not prove the stain is sealed because it can return a week later. A stain-blocking primer locks it beneath a film the finish coat cannot penetrate, and we use it wherever your wall carries that kind of stain.
Bonding and Tinted Primers for the Awkward Walls
Two surfaces call for something beyond an ordinary sealer. A wall that will not absorb anything, such as old gloss, oil paint or wallpaper paste residue, needs a bonding primer that grips the surface instead of soaking into it. A major color change needs a tinted primer, which is the sealer mixed partway toward your finish color so the final color reaches full coverage in two coats instead of three. Tinting helps most when going dark over light or covering a strong red or yellow that would otherwise show through. The store mixes the primer to a lighter version of your chosen finish color, and we tell you at the estimate when the change calls for one.
What a Drywall & Painting Crew Does Before the First Coat
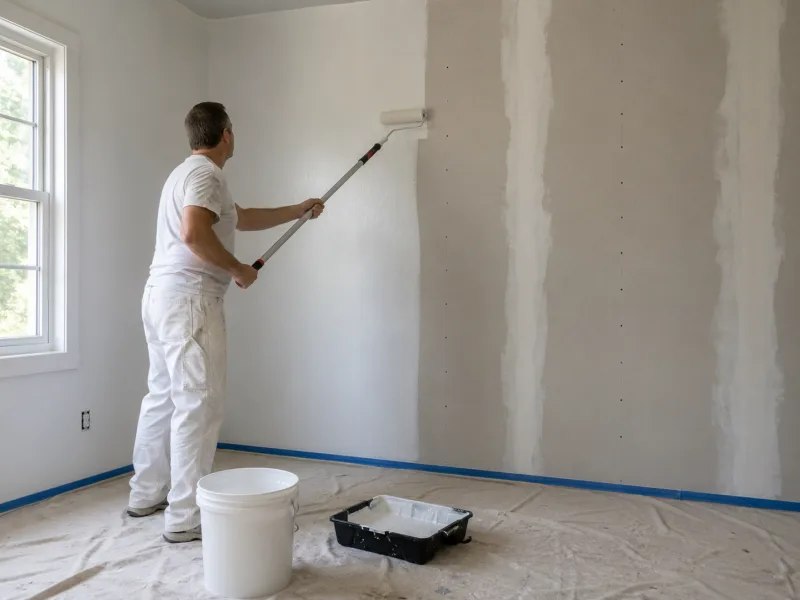
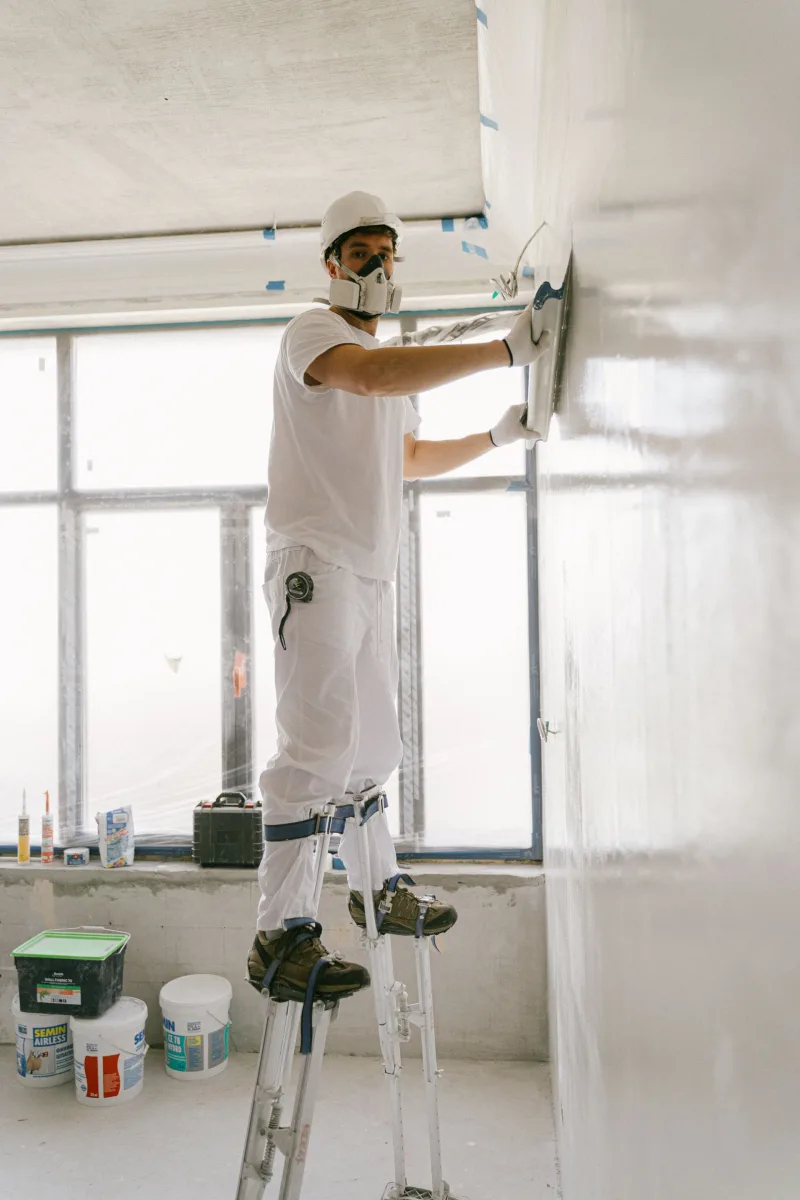
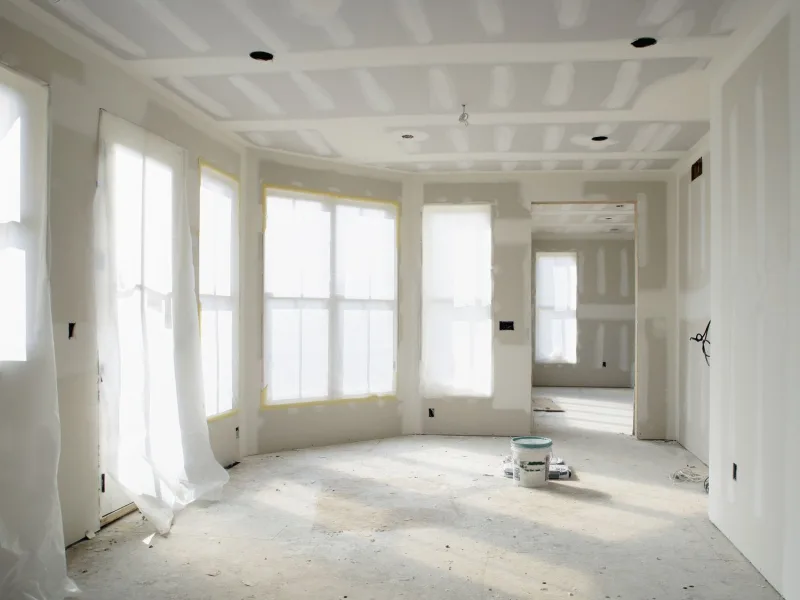
Most of the time on a paint job is spent before the first can is opened. Preparation is most of what you buy from a drywall and painting contractor, because three conditions decide whether the coat holds and looks right: how the wall was sanded, how thoroughly the dust was removed, and how flat the surface was made. None of that preparation is visible once the paint is on. What you do see is a ridge that was never sanded out or a patch where the primer bonded to dust instead of the wall.
The Final Sand, and What Over-Sanding Costs
The final sanding pass before primer smooths the dried joint compound where it meets the board. We use 150 to 220 grit paper on a pole sander across broad areas and a sanding sponge around corners and edges. Coarser grit cuts too deeply. Once the compound is sanded through, the abrasive reaches the gypsum face paper underneath and lifts its fibers, a condition called fuzzing. The surface turns furry, absorbs far more primer than the surrounding wall and dries rough to the touch.
We seal a fuzzed area first, then sand it back lightly because heavier sanding only tears more paper. Before we call the sanding complete, we place a lamp close to the wall and run its beam across the surface so every ridge and hollow casts a shadow you can see from the doorway.
Getting the Dust Off, and Keeping It Off the Floor
Drywall dust stays airborne for hours and settles back onto a wall even after it has been wiped. Primer applied over that film bonds to the dust instead of the wall, which causes it to peel away later in sheets. We vacuum the wall first, then wipe it with a damp cloth to lift the remaining dust rather than smear it across the surface. Before sanding begins, we cover your floors, sills, ledges and HVAC returns with masking film, contain the dust during the work and clean the area at the end of each day.
How Flat a Wall Has to Be Before Paint
Flatness is a finish specification, not a measure of effort, and paint and drywall contractors set it according to the GA-214 finishing standard.
Level 4 suits many ordinary painted and textured surfaces. Level 5 adds a thin skim coat of compound over the entire wall and is what the standard specifies where sheen, a dark color or critical lighting will reveal surface variation. That means the satin finish you want in a hallway or the deep color you want in a bedroom can raise the finish level the wall needs.
The reason is joint photographing, where taped seams show through the paint as faint bands. A textured wall hides surface variation that a smooth wall under direct window light will reveal. We choose the finish level with you based on the sheen and the light in the room before any wall preparation begins, so paint readiness is built in from the start.
Paint and Sheen on an Interior Wall
Once the primer is on, two decisions remain: which paint goes over it and how much light that finish reflects into the room. The paint itself is largely determined by the surface, and most interior walls call for the same type. Sheen is the choice you will notice every day, because the wrong one shows whenever light travels across the wall. We settle both with you while the wall is still being finished, before the paint and sheen are purchased for the final coats.
What Kind of Paint Goes on Drywall
Interior drywall takes a waterborne acrylic paint over primer in nearly every room of the house. Waterborne paint thins and cleans up with water instead of solvent, so brushes and rollers rinse at the sink and the room does not hold a strong odor for days. The acrylic film stays slightly flexible, which suits walls in a house that moves with seasonal changes. Under normal conditions, it dries quickly enough for the second coat to go on the same day. Oil-based paint still has a place on trim and a few stubborn surfaces, but not across broad fields of drywall.
Flat, Eggshell, Satin and Where Each One Belongs
Sheen is the amount of light a dried coat of interior paint reflects, and it increases through four common finishes: flat, eggshell, satin and semi-gloss. Scrubbability increases with it, so the paint that stands up to the hardest cleaning also reflects the most light across the wall and reveals the most of the surface underneath.
Flat sacrifices washability to hide surface variation, which makes it well suited to ceilings and long walls crossed by low-angle window light. Eggshell works well in living rooms and bedrooms. Satin and semi-gloss suit areas where hands and water reach the surface, so bathrooms, kitchens and hallways are specified according to how often they are wiped and how much moisture they see. Tell us how each room is used and we will match the sheen to it.
What Priming and Painting Costs
The price of a priming and painting job comes from things we can measure before opening a paint can: the amount of wall and ceiling area, the number of coats needed for coverage, and the preparation each surface requires before the first coat goes on. We do not publish a fixed price for this service because two rooms of the same size can cost differently once texture, coat count and prep are included. Instead, we measure your rooms, record the condition of the surfaces and give you the price in writing.
What the Estimate Is Priced On
Each of these is something you can see or count in your own rooms.
- Surface area, measured in square feet of wall and ceiling rather than by the room.
- The number of coats, based on how different the new color is from the old one and which primer goes underneath.
- Texture. Knockdown and orange peel surfaces have more surface area than a flat wall, so they use more paint.
- How much preparation the walls need before the first coat goes on.
- Ceiling height and how we need to reach it, whether by ladder or scaffold.
- How much furniture and flooring must be covered or moved out of the way.
Priming Only, or Priming and the Finish Coats
You can stop at a primed, paint-ready wall, which is what a builder usually wants when another painter is following behind. Most homeowners have us apply the finish coats too, since the crew that primed the wall already knows what is underneath. We price priming and painting on separate lines, so the scope you are buying is visible before you agree to the work.
We do not charge for the visit, and financing can cover a larger job. Call us at (346) 706-5743, and we will come out and measure the walls.
From Final Sand to an Even Sheen
A priming and painting job at Conroe Drywall Co. follows five steps, and three of them involve you directly: first, you show us what the walls need; third, you settle the sheen and the color; and last, you inspect the finished room and tell us whether it looks right. None of the work begins until you have the written scope in front of you.
-
1
Tell Us What the Walls Are Doing
A call is enough to start. Tell us what the walls are now: new board, a repair, stripped paper or tired paint. Say whether the room is lived in and what furniture stays. If a mark has come back through paint before, mention it, because that changes what we plan to seal it with.
-
2
The Free On-Site Look
We come out and read the walls under the room's own light, at the low angle that shows ridges a ceiling fixture hides. What is on them now decides the primer, so we check for gloss, wallpaper paste, or a stain. Then we measure, in wall and ceiling square feet.
-
3
The Written Scope, the Sheen and the Color
You then get a written estimate that itemizes the work: primer on one line, each coat on its own, and the walls and ceilings named. Sheen and color are settled here, before the crew arrives. We put a color sample on the wall itself so you can judge it in that room's light.
-
4
Masking, Priming and the Wait
Masking film goes down over floors and anything staying in the room before work starts. Priming comes next, and the finish coats cannot go on until that primer has dried. Drying time is what makes a job one visit or two, and we tell you which at the estimate.
-
5
The Walkthrough Under Your Own Light
We walk the room with you at the end, under the lamps and windows you live with, not a work light. Anything you point out is corrected before the invoice is settled. If something about the finish bothers you later, you can still call us about it, and we answer.
Start by calling (346) 706-5743, and we will arrange an on-site visit.
How Conroe Humidity Changes Paint Dry Times
Conroe has a humid subtropical climate, with warm, moisture-heavy air through much of the year and about 51 inches of rain a year. That humidity does not stop a priming and painting job or change how we coat your walls.
It changes the drying schedule because water leaves a wet coat more slowly when the surrounding air already holds a lot of moisture. Running the air conditioning helps more than waiting for a drier week because it removes moisture from the room regardless of the weather outside.
Dry to the Touch Is Not Ready to Recoat
Interior waterborne paint has two different drying times listed on the can. Under normal room conditions, it is dry to the touch in about an hour and ready to recoat in about four hours, then continues hardening for weeks afterward.
The recoat window is the period when a second coat bonds properly to the first instead of disturbing it. Indoors, the wall condition matters more than the thermostat: apply the next coat while the first feels dry on the surface but is still damp underneath, and surfactant leaching can follow, leaving brown streaks that weep through the finish days later.
Why Compound and Primer Wait Longer in a Wet Month
Joint compound needs about 24 hours per coat before priming, and a wet month can stretch that drying time to several times the dry-month figure. Prime before the compound has released its moisture and the primer sits on the surface instead of sealing into it. Once the finish color goes on, the patch dries back at a different sheen from the surrounding wall, and you see it under your own lamps.
We prefer to keep the air conditioning running throughout the job because it dries the room much faster than waiting for the weather to change, then apply primer once the wall is dry and ready to take it.
When a Wall Is Not Ready for Paint
Some walls are not ready for paint yet, and telling you that upfront costs less than painting the room twice. If a wall still reads wet, we apply neither primer nor paint because coating damp board traps moisture behind a film that will not hold. We check the surface with a moisture meter, a handheld instrument that measures how much water remains in the board, and if the reading shows the wall is not ready, we tell you before quoting the work.
Active mold or the moisture source itself may need another qualified trade first. For the source of the water itself, stopping the leak at its source is a separate trade from ours. We remove and replace the board damaged by the water, then leave the underlying cause to the people whose work it is.
A Stain That Has Not Stopped
A water stain is the brown or yellow mark left on a wall or ceiling after water has passed through it. A stain that is dry and unchanged over weeks is finished, and sealing it with a stain-blocking primer keeps the mark from bleeding back through the new paint.
A stain that is spreading, feels soft to the touch, or returns after sealing means water is still reaching the surface. A stain-blocking primer hides the mark but does nothing to stop the cause behind it, so sealing an active stain only buys a little time and wastes the coat you just paid for. Fix the source first, then paint.
Paint Is Not a Repair
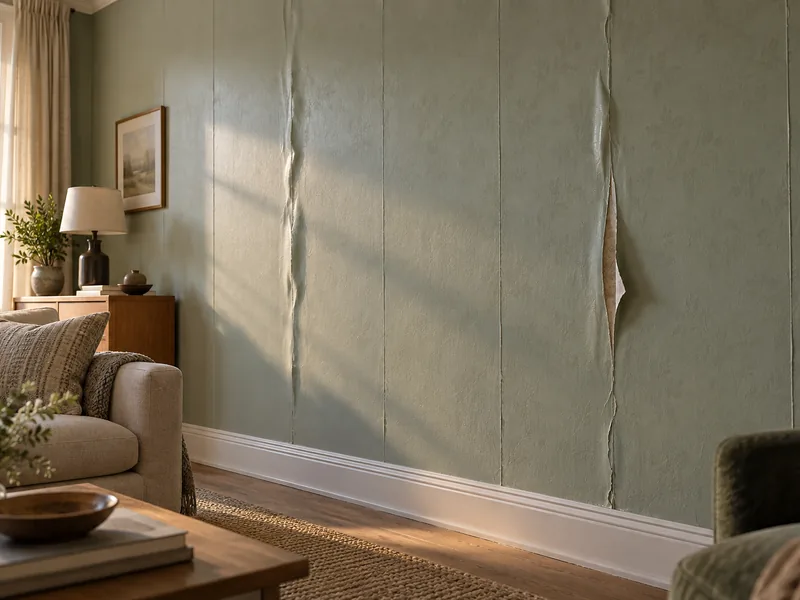
Paint does not bridge movement. A crack, open seam or loose taped joint keeps moving beneath a coat of interior waterborne paint and shows through again within a season because the film is thinner than a sheet of paper and follows the surface underneath.
Soft or crumbling board is cut out and replaced rather than painted, which belongs to drywall repair, and board damaged by a leak goes through water damage drywall repair before any primer is applied. Our priming and painting scope begins once the wall is sound, and the written estimate identifies exactly which walls are ready.
Older Textures We Will Not Sand Before Painting
Most of the preparation behind a paint job is abrasive. We sand the wall to remove ridges and dull the existing sheen, giving the new coat a smooth, even surface to bond to.
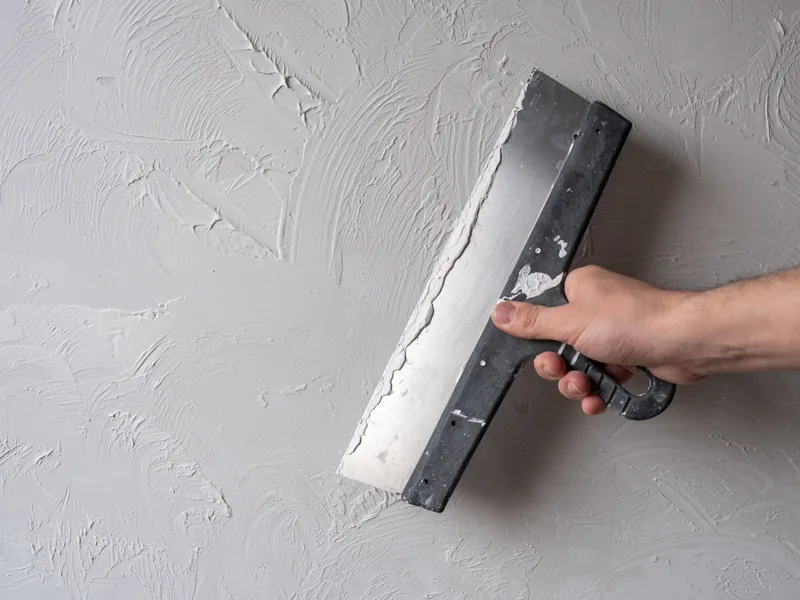
One surface stops that preparation before it begins: spray texture, the raised or mottled pattern applied to a ceiling or wall with a hopper, in a home built or remodeled before 1990. Texture installed before 1990 can contain asbestos, so we arrange lab testing before any scraping begins and remove only material the results clear as safe.
Painting a Textured Ceiling Without Disturbing It
A textured ceiling in sound condition can usually be painted as it stands because a roller applies paint over the surface instead of cutting into it. We remove the dust with a vacuum and soft brush attachment rather than a sanding sponge.
Priming a textured ceiling uses more material than priming a flat one because the peaks and hollows add surface area and absorb more of the first sealing coat. We use a roller nap long enough to work the paint into the pattern instead of just skimming across the high points. If the texture is loose or falling away, we stop and discuss it with you before any paint goes on.
When the Texture Has to Come Off Instead
If what you want is a smooth ceiling instead of a painted textured one, that is a removal job, and on this site it is popcorn ceiling removal, not priming and painting. A lab test settles which of the two you can have, and it happens before anything touches the ceiling. If testing is positive, we leave disturbance and removal to an asbestos contractor qualified for that work. We tell you that on the spot rather than after the estimate.
Why Choose Conroe Drywall Co. for Drywall & Painting
The finish and sheen are chosen for the room you are standing in rather than applied by default. As your drywall and painting contractor, we make that decision with you, along with the four below, and put every choice in writing before the crew arrives.
- The surface determines the primer: bare board, a bleeding stain, old gloss and leftover paste each require a different sealer.
- The finish level is chosen before the finishing work begins, not after you have already picked a color.
- The estimate states how far each repaint extends, wall by wall, instead of leaving that decision until the day of the work.
- Drywall and paint stay within one scope, so you are not passed back and forth between two companies.
- The estimate is itemized, showing the primer, each coat, and every wall and ceiling included.
- We are insured and follow established industry practices, including ASTM C840 standards for gypsum board installation and finishing.
- Our on-site estimates are free, and financing is available for larger projects.
- We respond promptly to any warranty-related concerns that might arise.
Interior Walls and Ceilings, Not the Outside of the House
Inside a room, our interior painting takes the whole of it: the walls, the ceiling above them, and every coat applied to both. We work on interior walls and ceilings only, in interior waterborne paint. Exterior surfaces are outside our scope because they require products made for sun and rain and different weather conditions during application. Cabinets, decks, fences and siding are not part of this service, and we do not pressure wash. Hanging new wallcovering is a separate trade, and we do not offer it.
Why a Drywall Contractor Paints at All
When one company finishes the drywall and another paints it, a mark that appears in the light can leave you caught between the two. That is why we handle both trades. A room that needs nothing more than fresh color is still part of our work, and it gets the same preparation as a room we boarded ourselves.
Call us at (346) 706-5743 or use the quote form when you are ready for us to take a look at your walls.
Priming and Painting Across Conroe and Montgomery County
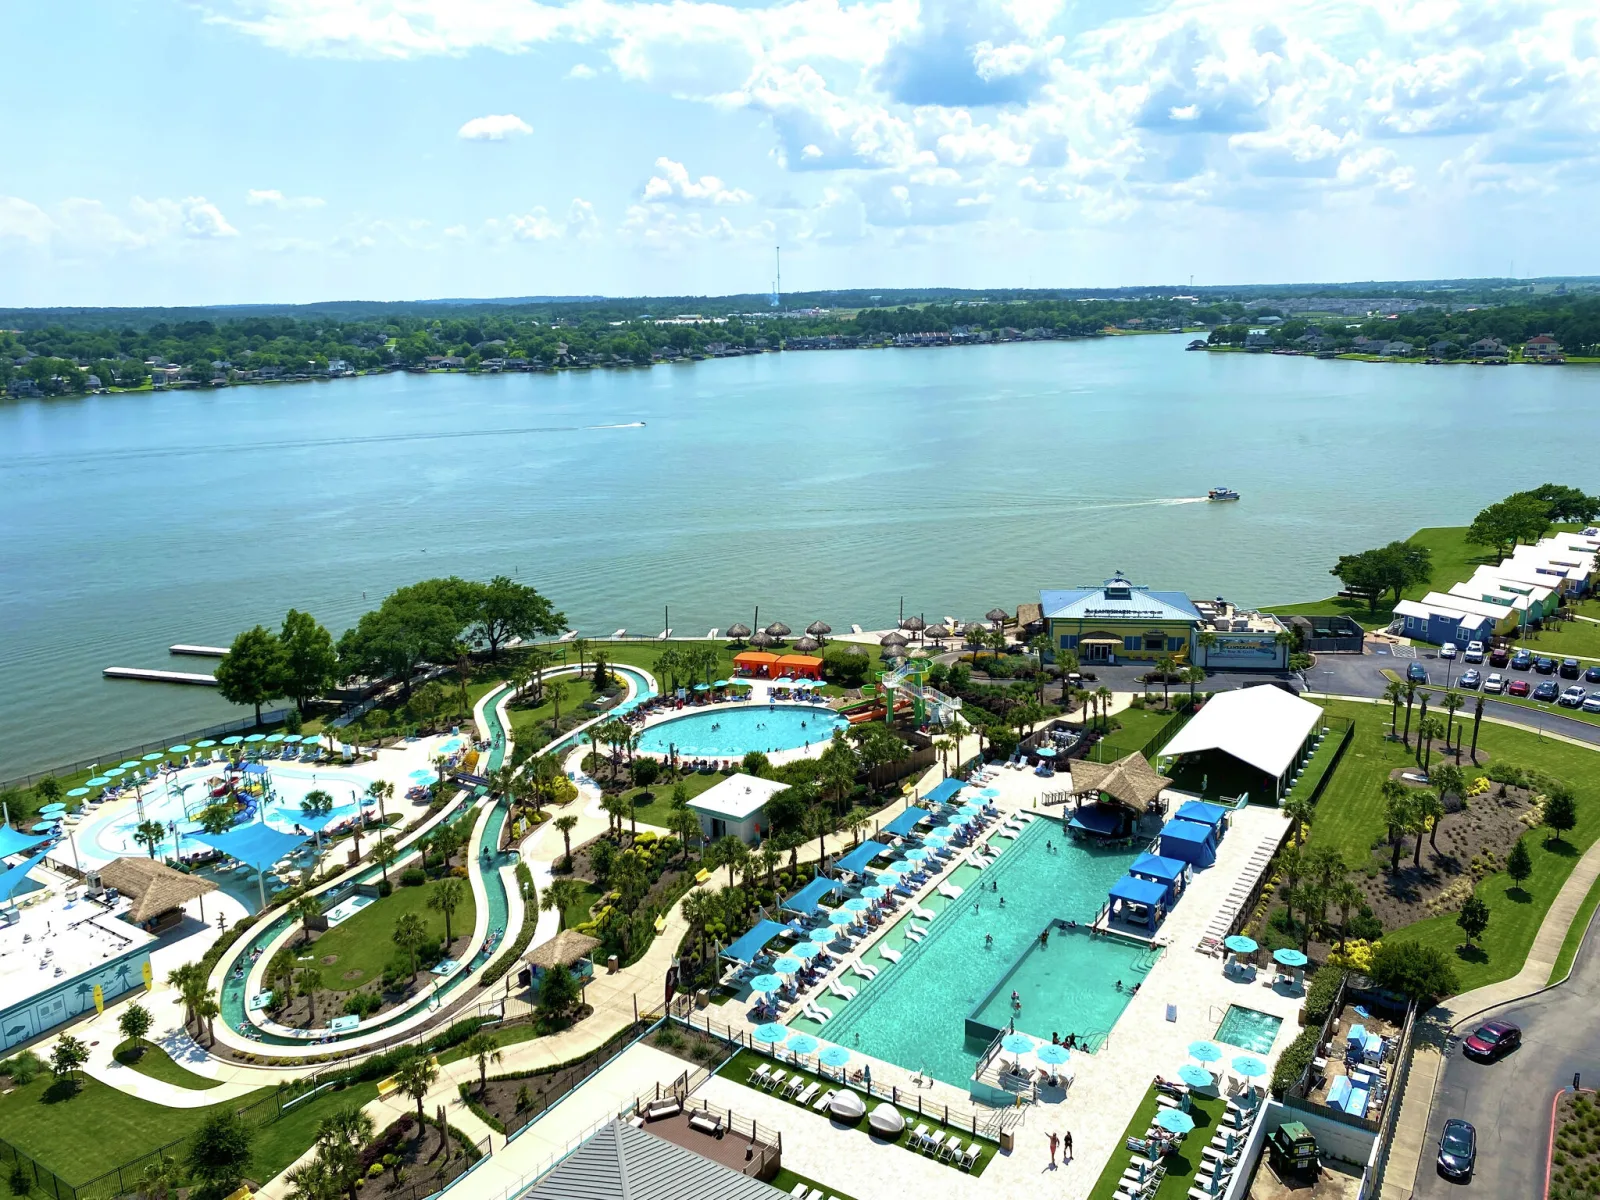
What we prime and paint depends on how your house was originally finished. Older homes and houses around the lake tend to have hand-applied or sprayed textures, while newer subdivisions across Montgomery County more often come to us as bare gypsum board and fresh joint compound ready for their first coat.
Where your house is located and how old it is affect what we bring and how long the coats need to dry, but not how we do the work.
Where Conroe Drywall Co. Primes and Paints
Conroe Drywall Co. primes and paints across a service area covering Conroe, the surrounding towns and the lake, so your address falls into one of these three groups.
Conroe Neighborhoods and Communities
- Grand Central Park
- Graystone Hills
- Rivershire
- Stewarts Forest
- Downtown Conroe
- Wedgewood
- West Fork
- Tejas Creek
Surrounding Cities and Communities
- Willis
- Montgomery
- New Caney
- Splendora
- New Waverly
- Cut and Shoot
- Panorama Village
- Grangerland
- Plantersville
Lake Conroe Communities
- Lake Conroe
- Bentwater
- Walden on Lake Conroe
- April Sound
FAQ
Priming and Painting Questions
Do painters usually do drywall?
Many painters will fill a small hole, but far fewer will hang drywall, tape it and float the joints to a specified finish level. We approach the job from the drywall side, so the same people who apply the compound also decide when the surface is ready for paint. A room that needs only fresh paint is still work we take.
How long between drywall and painting?
Allow about 24 hours for each coat of compound to dry, and about the same after fresh texture, before primer goes on. Wet compound holds water that has to escape before a sealing coat traps it. During a humid stretch, drying takes longer, and we will tell you what to expect in your rooms before the work begins.
What do painters do to prep walls?
Before any coating goes on, we cover the floors and any furniture staying in the room, sand the wall smooth with 150 to 220 grit paper, vacuum away the dust, wipe the surface with a damp cloth, then caulk gaps and spot-prime bare patches. Nothing is primed until the wall looks clean and flat under a light held close to the surface. The wipe-down is what protects everything that follows, because primer bonds to whatever it lands on, and any dust left behind becomes the surface it sticks to.
Do painters repair drywall before painting?
Here, the repair and painting stay within one scope and are booked together. The estimate lists them as two separate priced items, so you can see the drywall work and the coating work independently. Every patch is sealed before any color goes on because fresh compound and the surrounding wall absorb paint at different rates. The estimate also states how far the paint extends on each wall, so the boundary is settled in writing before the work begins.
Do I need to prime drywall before texturing?
Yes, and then once more after the texture dries. Priming first gives the wet texture a uniform surface to set against, and the dried pattern is porous enough to need its own sealing coat, so a textured wall ends up primed twice before any color reaches it.
Get Your Walls Primed and Painted
The next step is simply a look at the walls, not a commitment. We will come out, see what is there, explain the sheen, show you how far the paint needs to extend and put the price in writing, then you can take the estimate and think it over. We serve every community listed above, including those just across the county line.
Call (346) 706-5743 or use our quote form for a clear price on your project.