
Custom Drywall Solutions in Conroe, TX: Arches, Niches, Coffered Ceilings and Reveals | Conroe Drywall Co.
Conroe Drywall Co. creates custom drywall solutions for homeowners, remodelers and builders throughout Conroe, TX, and has been shaping rooms here for over 15 years. A curve in gypsum starts as a framing problem long before it becomes a finishing one. Arches, radius walls, wall niches, coffered ceilings, tray ceilings, reveals and shadow lines all take shape behind the finished surface, whether we are working in an occupied room or a house still under construction. We also handle metal stud framing, soffits built to conceal ducts and pipes, and finish levels, the graded scale that defines how smooth the surface is made before painting.
Four decisions are yours, and we settle each one with you before a single sheet of board goes up: the shape you want, the dimensions it will be built to and approved to the inch, where it will sit in the room, and how far the new finish needs to extend to meet the existing surface. Everything the crew does from that point follows those four decisions. We are insured.
We serve Willis, Montgomery, Lake Conroe and communities throughout Montgomery County. Call (346) 706-5743 or use the quote form to have your feature inspected and priced.
Get A Free Estimate
The Architectural Drywall We Build
Custom drywall includes the features that shape a room, not just the surfaces that cover it, and the four families we build are curved work, recessed work, ceiling work and edge work.
All four are built into the room as new features, which makes this a different job from repairing something already in place. Boxing in a duct or stack to conceal it is another type of work, and that enclosure work has its own page. A soffit built as part of a tray or cove is feature work and belongs here.
Arches, Radius Walls and Curved Openings
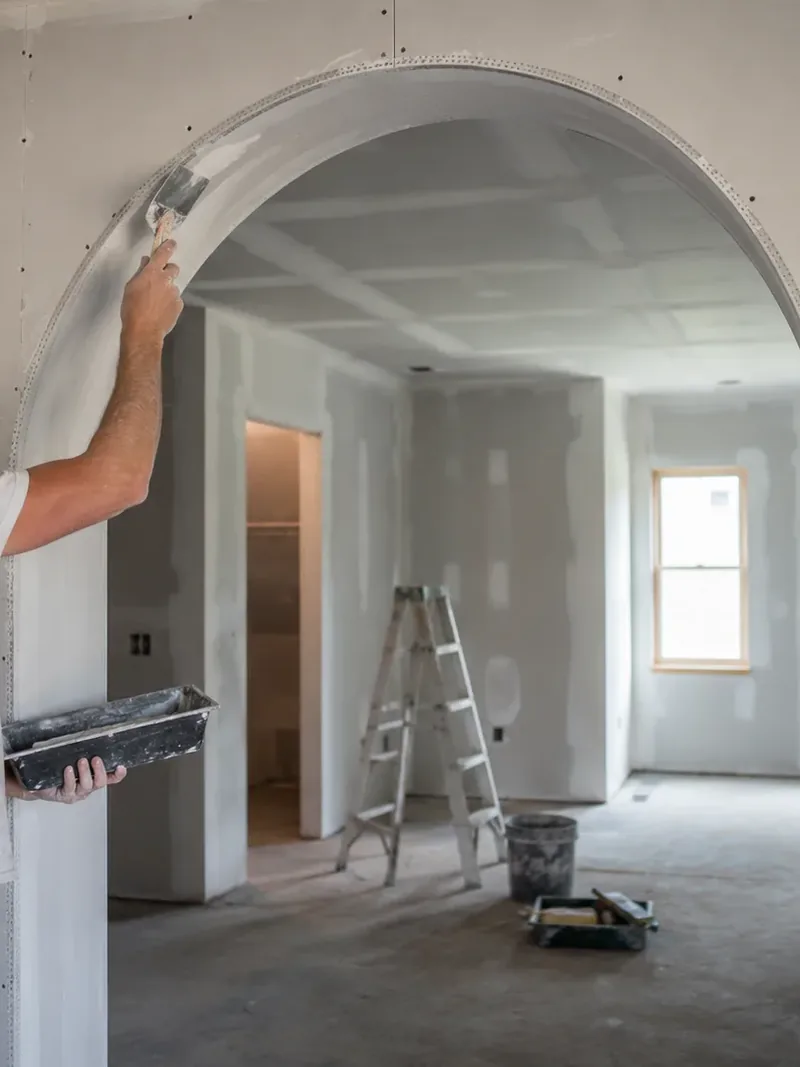
A curve softens an opening that would otherwise feel square, and in an entry or hallway it becomes one of the first lines a visitor's eye follows. Archways over doorways, barrel openings between two rooms, curved knee walls at the top of a stair and rounded room corners are all built using the same basic approach.
The shape is framed before any board goes up, which is why we settle the radius with you at the start: once the plates are cut, the curve is set. A tighter curve needs more framing behind it and more hand work across the face, so the radius you choose affects both the look of the feature and its price.
Niches, Alcoves and Recessed Boxes
A niche is a box framed between two studs, closed with a header above and a sill below, then boarded and beaded so it finishes flush with the surrounding wall. Whether you can have one depends on what already occupies the wall cavity, because the recess needs that space. A two-by-four wall provides about three and a half inches of depth, while a two-by-six wall provides about five and a half.
Anything deeper means furring the wall out into the room or taking depth from the space on the far side. A waste stack, duct run, diagonal brace or feed to your panel will stop a niche where it stands, so we open the wall and check the cavity before promising a location. Shelves and mounted fixtures are backed before the niche closes. Television recesses, display shelves, hallway alcoves and fireplace surrounds are the usual uses, while a tiled shower niche is wet-area work that belongs with our moisture-resistant board, with the tile itself handled by another trade.
Coffered and Tray Ceilings
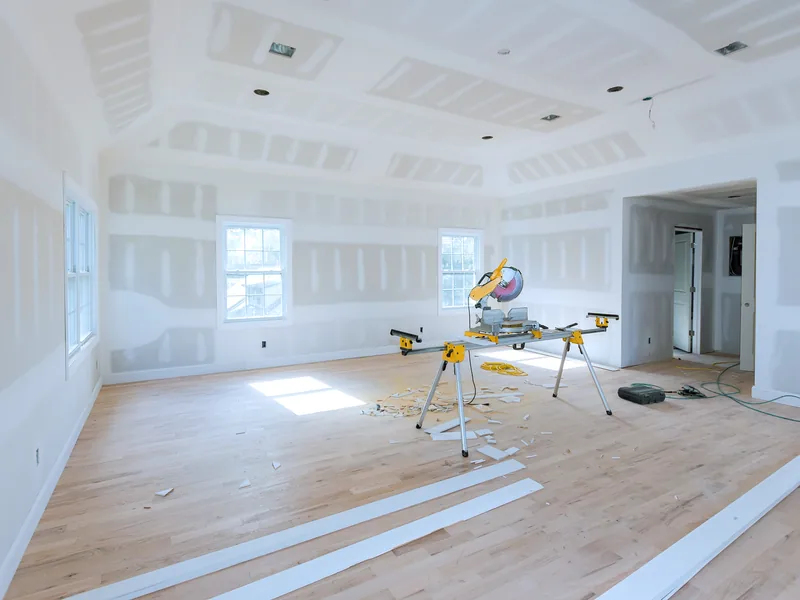
These two names are often used interchangeably, but they describe different jobs. A tray ceiling raises the center of the ceiling above the border around it. In a house under construction, that recess is usually framed into the space overhead, so it costs no head height; in a finished room, it is created the opposite way by dropping a soffit around the perimeter. A coffered ceiling is a grid of dropped beams with recessed panels between them. Both are framed and boarded, and neither carries any load.
With a coffered ceiling, the layout is a decision of its own. We set out the grid so you do not end up with a narrow sliver of a panel at the border beside a full-width panel, and the number of panels you choose determines both the look of the ceiling and its price.
Reveals, Shadow Lines and Floating Edges
A reveal is a deliberate gap where two surfaces meet, and you have probably seen one without knowing its name: instead of a taped joint, you see a narrow dark line. It is formed with a reveal bead, an L-shaped or channel edge set into the board so the gap stays clean and square. Common widths run from a half inch to three quarters of an inch.
Reveals are used where a wall meets a ceiling, between panels and around a floating ceiling plane. The gap also absorbs the small seasonal movement that would otherwise crack a taped corner open. The trade-off is that a shadow line exposes every wave in the plane behind it, so we straighten that plane before the bead goes on.
Choosing a Custom Drywall Solution for the Room You Have
A custom drywall solution has to fit the room it belongs in, and three physical facts determine what is possible: the ceiling height, what occupies the wall cavity or the space above the ceiling, and how much shape the room can take without feeling crowded. Any one of those can rule an idea out before taste enters the decision.
Your room decides what works, not a catalogue picture.
Headroom, and What Every Drop Costs You
Measure from the floor to the ceiling first, because that height determines which features are worth building. A coffer beam hangs four to eight inches below the existing ceiling. With an eight-foot ceiling, you feel that loss of height at the doorway and over the table, so most coffer work is ruled out. With a nine- or ten-foot ceiling, the drop is the same, but there is enough height to give it up.
A dropped tray uses height only at the edge of the room, which is why it still works under ceilings a coffer would make feel too low. An arch inside a standard door opening gives up head height at the springing point, the height where the curve begins, so that doorway finishes lower than the one beside it. With a low ceiling, a reveal is often the better answer because it costs no height at all.
What Is Inside the Wall or Above the Ceiling
Two conditions behind the finished surface can stop a feature outright. An arch cut into a load-bearing wall, one that carries weight from above, needs a header across the opening, and sizing that beam belongs to an engineer or framer. The second is overhead: coffer beams and dropped boxes add weight to the ceiling framing, and the bottom chord of a roof truss, the horizontal member your ceiling is fastened to, cannot be cut, notched or loaded without an engineered detail drawn up first.
Ducts, a plumbing stack, a panel feed or a return chase can also occupy the exact space a feature needs. Any of them can shift the feature a few inches along the wall or rule that location out altogether.
One Strong Feature or Several Small Ones
Shape competes with itself. When two features share the same sightline, the view you get as you enter the room, they weaken each other, so adding more custom drywall does not create more effect. One arch at the entrance does more than three niches down a hall. A coffer in an open plan carries across the entire floor, making it one decision rather than four, while a single reveal can give the room more shape than three niches that leave it feeling cluttered. If the budget covers one feature, we tell you which one we would keep. You are buying an effect, not square footage.
What Custom Drywall Features Cost
A custom drywall feature has two separate prices because each part is calculated differently. The flat board around it is priced by area. New installation runs about $2.00 to $3.50 per square foot installed. That rate covers plain wall and ceiling only. The feature itself is priced by the corners and labor hours its shape requires, because the geometry, not the surface area, is what drives the work. Anyone quoting custom drywall cost from a price per square foot alone is guessing at the half that matters.
Several factors determine how many labor hours the shape takes:
- the radius, because a tighter curve requires closer framing and more hand work;
- reach, because a feature over a stairwell or in a two-story entry includes the scaffold needed to reach it;
- whether the room is already finished, which adds surface protection, dust control and a matched edge;
- bead and detail, the strip that forms each finished corner, such as bullnose, priced by the linear foot of bead;
- what goes inside the feature, from blocking to a chase for lighting;
- how much of the surrounding surface the finish needs to cover.
The corner count is what surprises most people. A flat ceiling of two hundred square feet has corners only where it meets the walls. A coffered ceiling covering exactly the same area, with nine panels set between beam boxes, turns that single perimeter into dozens of separate runs, and each one is taped by hand because a beam box is too short for the machines used on an open wall. The area has not changed, but the finishing hours have multiplied, which is why we price the feature by the linear foot of corner while the flat board around it is still priced by area.
The only accurate price comes from someone standing in your room.
How a Custom Drywall Solution Is Designed, Framed and Finished
The work follows five steps, starting with the photograph on your phone and ending with a final walk-through while you stand in the finished room. You make the decisions at steps one and three, and our crew handles the work at steps four and five.
-
1
Bring Us the Shape You Have in Mind
A photograph taken on your phone, a picture saved from a website or a rough sketch on paper is enough to start the conversation, and most residential features need no architect and no drawing set. Tell us the room and roughly where you want the feature to sit, and Conroe Drywall Co. will book the visit.
-
2
Measuring the Room and What It Will Allow
We visit and take the measurements a photograph cannot give us: the ceiling height, what the wall sounds like when we tap along it, and what sits above the ceiling wherever a hatch or a run of open framing lets us look. Those three checks are made standing in your room, and if what you want will not fit there, you hear it on this walk-through, before a crew is ever booked. The visit costs you nothing either way.
-
3
The Scope, in Dimensions and a Price
What you receive afterward is a written scope, and it is built out of numbers rather than adjectives: the radius of a curve, how far a ceiling drops, the width of a reveal, the count of panels. It names how far the finishing reaches, gives you the work in working days rather than a single finish date, and itemizes the price so you can see what each part of the job costs. Changing a dimension now costs nothing. Changing it once the shape is framed costs real money, which is why we ask you to read the numbers before you agree to them.
-
4
Framing, Blocking and Board
Floors and furniture are covered before anything is cut. The shape is framed first, and it looks rough and unpromising at that stage, which is normal. Before the board closes it in, we ask you to walk the room with us and confirm the fixing points, because blocking, the solid lumber fixed between the studs to take a screw later, is the last thing anyone can change without cutting back into finished work.
-
5
Beads, Coats and the Last Walk-Through
The beads are blended into the surrounding wall over several coats, and that is the slow part of the job. Texture is matched to what is already there, out to the extent your scope names. At handover we take the last look from the doorway in the room's own daylight, which is where you will see the work from every day, and you are there for it.
To begin with step one, call us at (346) 706-5743 or send the details through the quote form, and we will arrange the visit.
Framing a Curve and Finishing an Edge
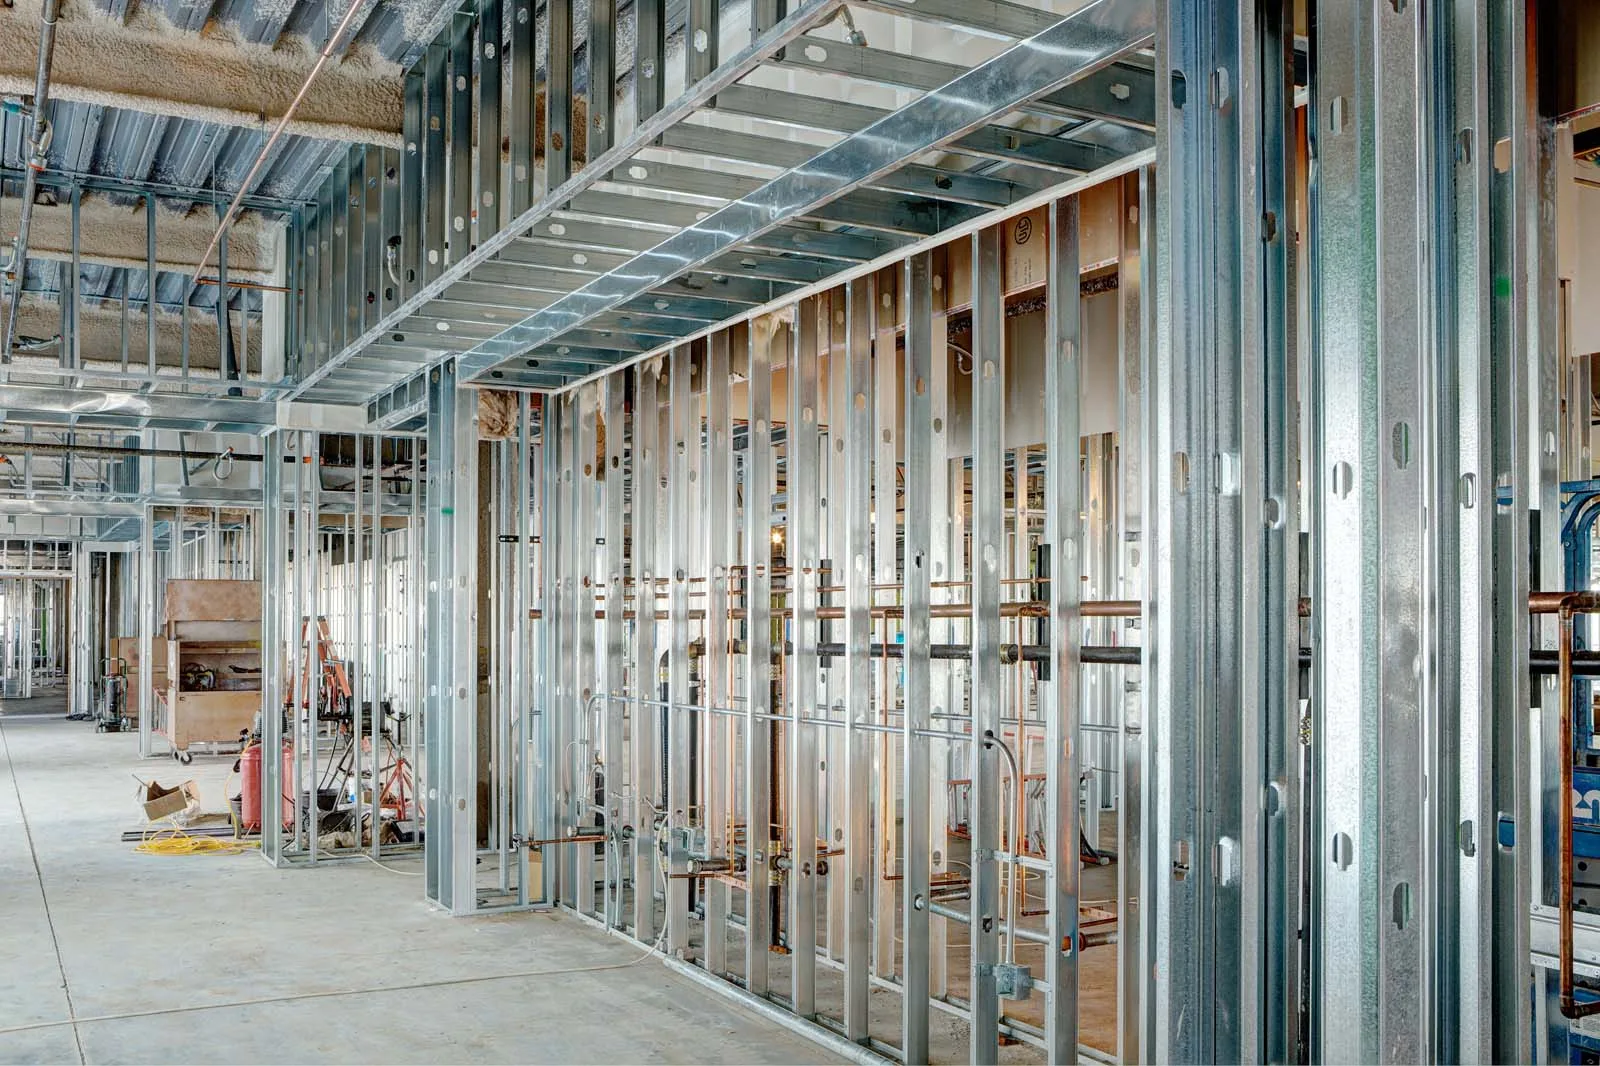
On a custom drywall feature, nearly everything unusual happens at the edges. The flat field between them is ordinary hanging: sheets of gypsum board screwed to framing, then taped and finished like any other wall. What separates a good arch or lit recess from a disappointing one is the framing that forms the edge and the metal that protects it, and both are decided before the surface is closed.
We hang and finish to ASTM C840, the published industry practice for installing gypsum board, which sets out how sheets are fastened, spaced and coated. Three decisions define the feature: how tight a curve the board must follow, which edge profile the corners receive, and what solid backing sits behind the face to hold a screw.
How Tight a Radius the Board Will Take
Gypsum board bends only so far, and the bend radius describes the tightest curve a sheet will take without breaking. There are three ways to wrap board around a curve. Dry bending is the fastest and suits the loosest curves, where the sheet is pulled directly to the framing and fastened in place. Wet bending handles a tighter radius: the face that will sit on the outside of the bend is sprayed, then the sheet is left to relax before it is fixed. The third way, laminating two layers of flexible board, goes tighter still.
GA-226 publishes a dry bending radius for each board thickness, and we follow those figures instead of judging a curve by eye. A plain quarter-inch sheet holds about a five-foot radius dry, while half-inch board needs about ten feet. For the tightest bends, the framing closes up to six inches on center, which is also the GA-226 figure. Anything tighter than its table calls for flexible board, glued together in two laminated layers; panel manufacturers publish their own bending radii for that, down to about twelve inches.
Around curved drywall, the screws are spaced closer together than on a flat wall because the sheet is under tension and wants to spring back. If the radius is tighter than the board will accept, the face cracks, and that crack in the face paper shows through the paint no matter how carefully it is filled.
Bullnose, Square and Reveal Beads
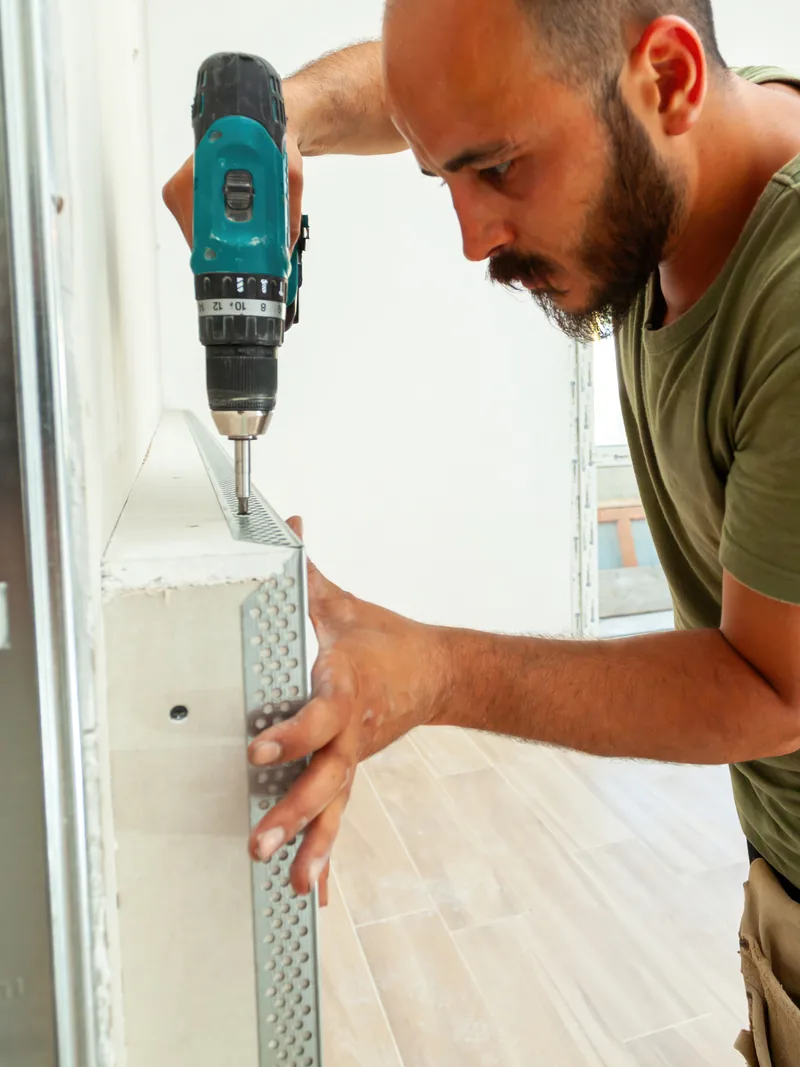
Corner bead is the metal or plastic strip fixed to an outside corner before the finish coats go on, and its profile determines the shape that corner keeps. Square bead creates a crisp ninety-degree edge. Bullnose rounds it, commonly to a three-quarter-inch radius. Flexible bead follows an arch or curved opening where a rigid strip will not, while reveal bead forms the narrow recessed line that creates the shadow.
Before you choose, walk through your rooms and look at the corners you already have, because a rounded corner beside a square one is visible from across the room. There is also one trim detail to plan for: baseboard and casing cannot end cleanly against a bullnose, so those runs need a small transition cap where they meet it. Bead is bought and fitted by the running foot.
Blocking and Backing Behind the Finished Face
Blocking is solid lumber or steel fixed between the studs before any board goes up, and backing is the same idea wherever something will later be screwed to the wall. It gives the screw something solid to bite into behind the finished surface. That is why we ask, before the wall closes, what you plan to hang there: a television, mantel shelf, curtain track, handrail or picture light.
An arch carrying a light fitting needs solid backing at the fixing point, not hollow space. We mark those fixing points on the framing while it is still open instead of trying to find them through a finished wall. Once the face is taped and textured, adding backing means cutting the wall open and refinishing it.
Where a Feature Cracks, and What Stops It
Buildings move. Framing lumber shrinks as it dries, a structure settles in small amounts during its first years, and the clay beneath a slab in this county swells through a wet winter and shrinks through a dry summer. The house is never completely still, and that movement finds the weakest line in the finish. Three places take the strain: the springing point where an arch begins to curve, the inside corners of a coffer, and a reveal fitted against a plane that was never straight.
We deal with each of those weak points before the finish coats go on. Paper tape, never mesh, reinforces every inside corner of a coffer where the two faces meet. A reveal goes on only after the plane behind it has been straightened, and an arch is framed so the board joint lands away from the springing point. Long continuous runs need a control joint, which is a detail our commercial drywall work covers.
Blending New Work Into an Existing Wall or Ceiling
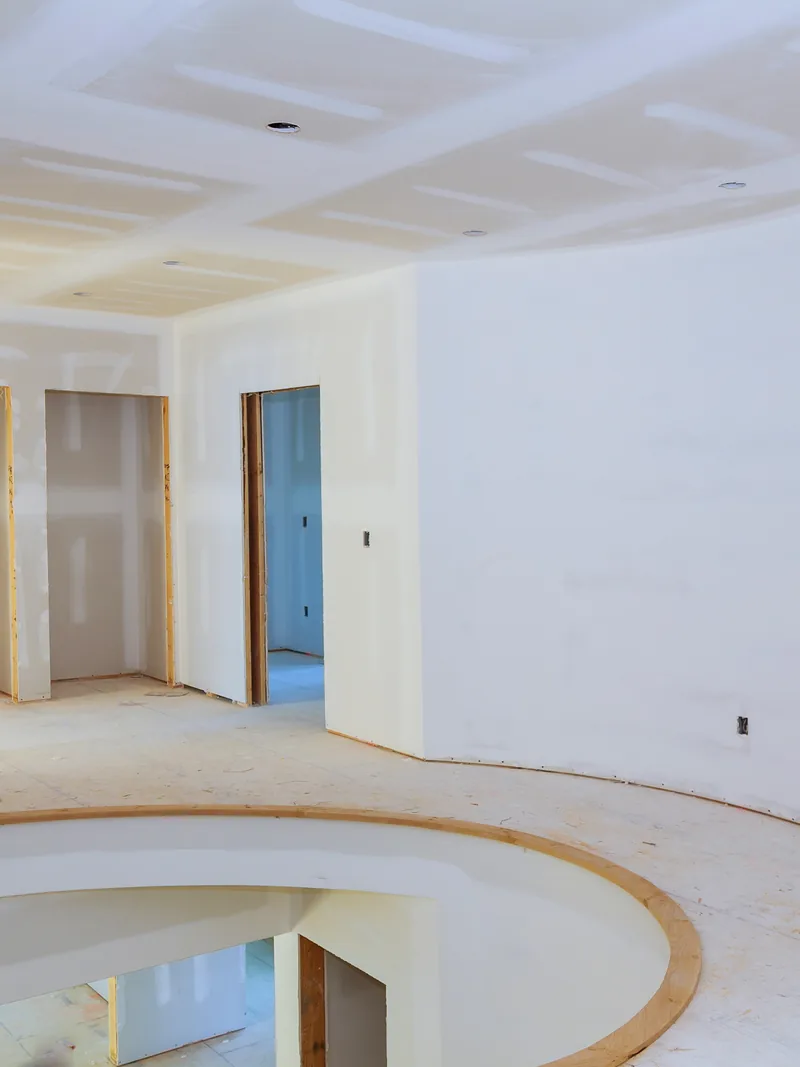
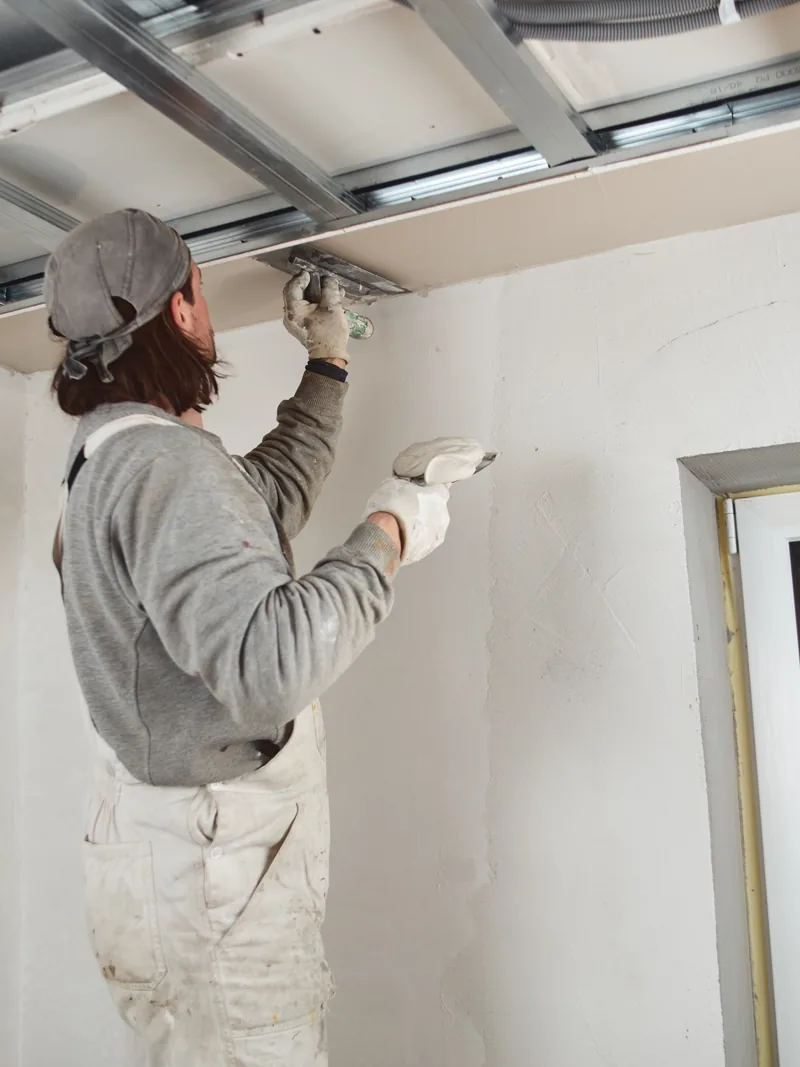
Most custom drywall features are added to rooms people already live in, and that makes them the harder of the two jobs. Building a niche or coffer into an open shell means working with framing that is exposed, visible and dry. Adding the same feature to a finished room means opening a surface that has been closed for years, and what we find behind it affects the schedule just as much as the shape you chose.
Two questions determine how the work proceeds: what the opened surface is hiding and how old the existing finish is. A third determines how far the finishing work needs to extend, because new texture rarely stops at the feature itself. Before we open anything, we cover the floor, mask the openings and seal off the rest of the house so cutting dust stays inside the room where we are working.
What We Find When a Wall or Ceiling Opens Up
Cutting into an existing wall is often the first time anyone has seen inside it since the house was built. Sometimes the cavity holds nothing but framing and wiring. Other times we find an old stain across the framing, damp lumber from a slow supply leak, or a water track that ran down from the roof above and dried into the board. Before anything is closed up, we check the framing with a moisture meter, a handheld tool that measures how much water remains in the wood.
We do not install new board over framing that is still wet, because trapping that moisture behind the new work only carries the problem forward. Active mold or the moisture source itself may need another qualified trade first. We are not mold contractors, so we do not test for or remove mold, and stopping the leak at its source is a separate trade from ours. Once the framing reads dry, we return and build the feature as planned. Replacing board already damaged by water is a separate job, and we quote it separately.
Building Into a Ceiling Finished Before 1990
A coffer or tray is framed tight against the existing ceiling, which means disturbing any sprayed texture already on the surface. In an older home, the age of that finish is the first thing we check. Texture installed before 1990 can contain asbestos, so we arrange lab testing before any scraping begins and remove only material the results clear as safe.
Nothing is cut into that ceiling until the lab result comes back. A clear result puts the feature back on the normal schedule, while removing the texture from an entire ceiling is popcorn ceiling removal, a separate service. The newer the finish, the lower the risk, but the lab result, not the date, is what clears the work to begin.
How Far the New Texture Has to Run
New texture patched in a ring around a feature shows as a halo when light crosses the wall at an angle, no matter how carefully the edge is feathered. The fix is a scope decision, not a matter of skill: the new texture needs to run to a natural break, such as an inside corner, ceiling line, door casing or reveal, rather than fading out in the middle of a flat surface. Three texture families cover most rooms here.
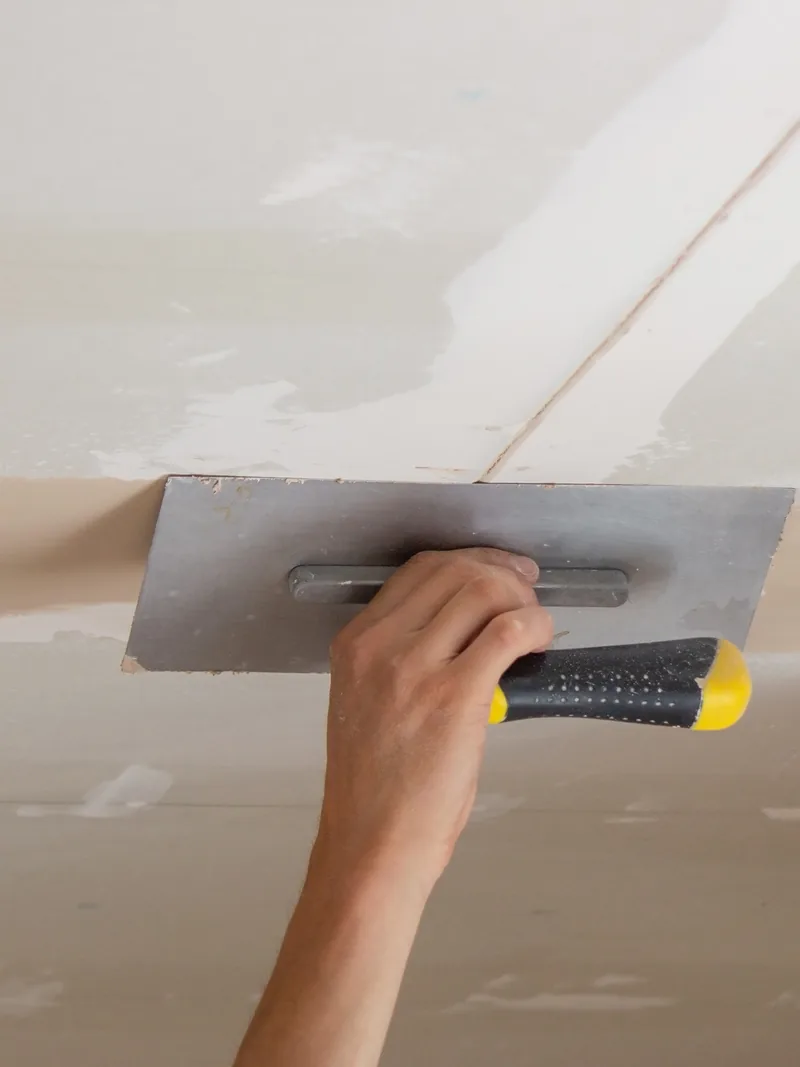
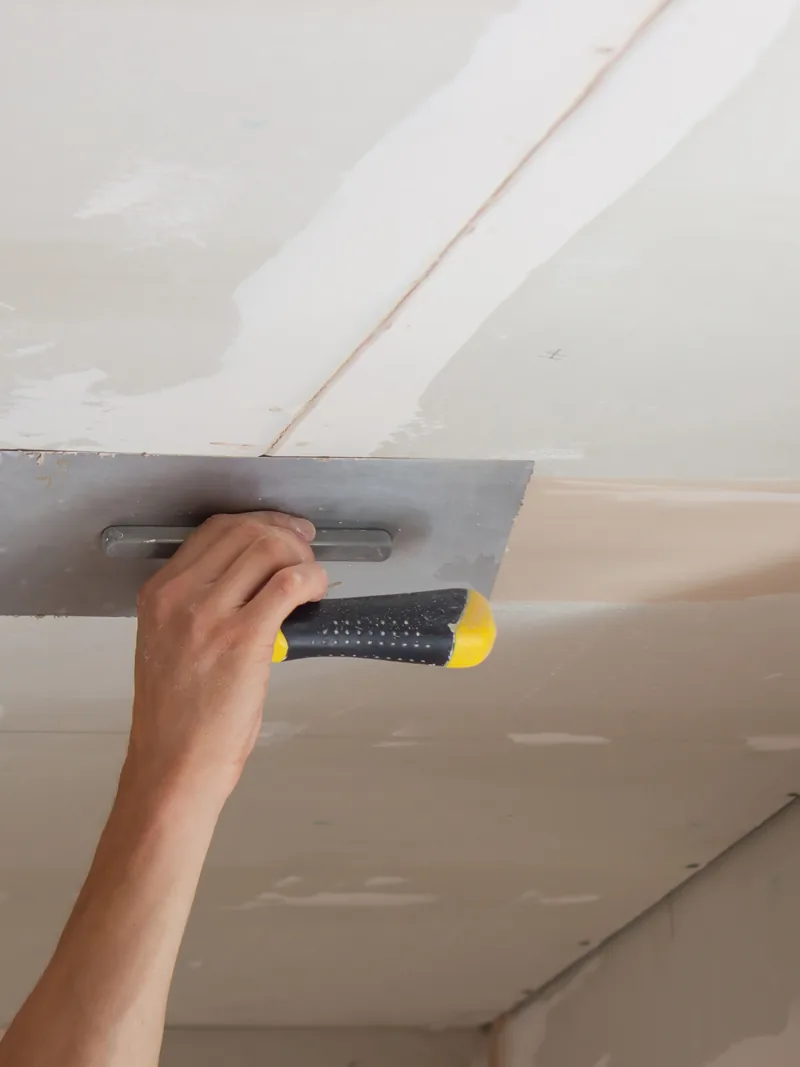
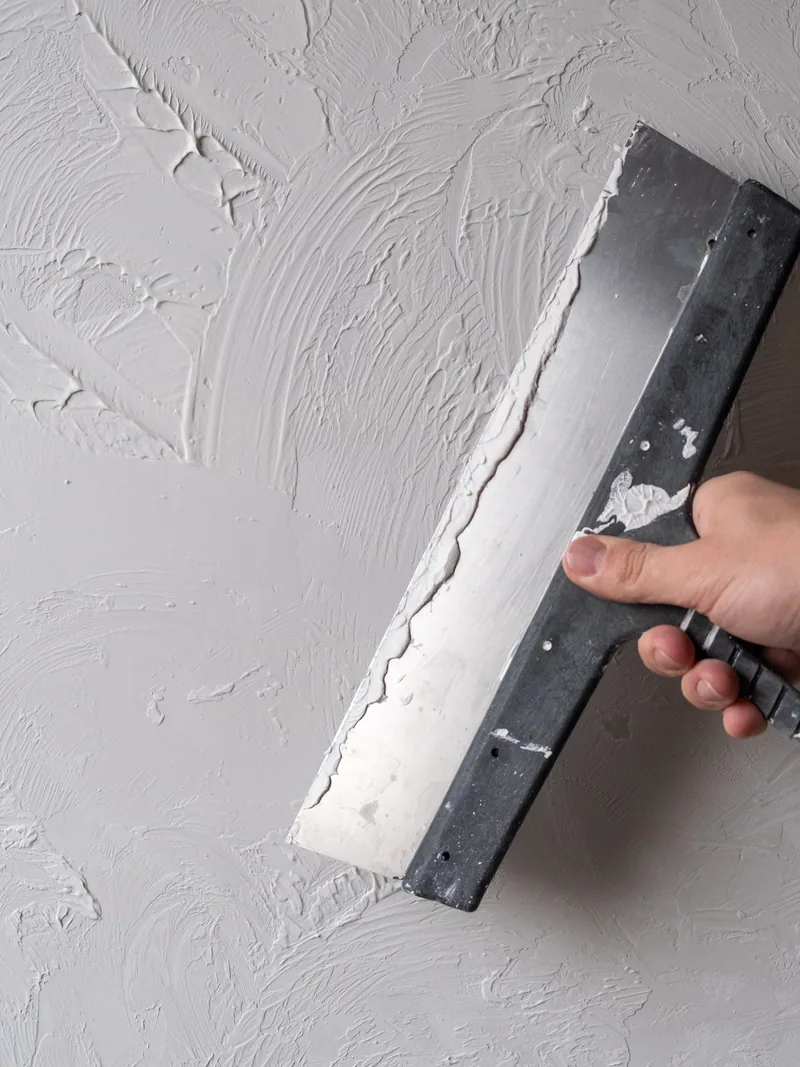
Knockdown leaves a flattened splatter across the surface, orange peel leaves a finer spatter that resembles citrus skin, and hand-applied finishes are troweled on one pass at a time. Identifying the texture family, matching it and deciding how smooth the surface should be are all part of our finishing and texturing work. Paint follows the same rule as texture and covers the entire plane. We define that full extent while blending is still a choice you can make, not after the sanding is finished.
Light, Coves and What Runs Inside a Custom Drywall Feature
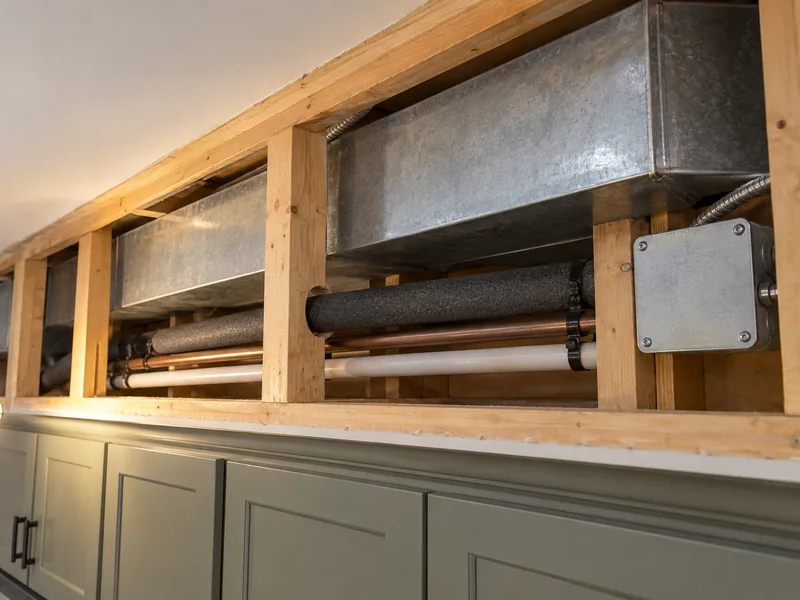
Lighting is commonly built into trays, coves, niches and other recessed features. Because the light is part of the shape, the fitting location and wiring are decided with the feature before anything is closed in. Once a trough, boxed beam or tray perimeter is covered with board, it becomes a concealed space, a void inside the finished wall or ceiling that nobody can see or reach. Two code requirements follow from that, and we check both before the board goes on.
A Cove That Throws Light Up a Wall
A cove is a shallow trough built at the top of a wall or around the edge of a tray ceiling. A strip of LED tape sits inside it behind a raised lip, hidden from view, and washes light across the ceiling or the wall above. The depth of that lip determines what you see from the floor. If it is too shallow, the fitting appears as a bright line; if it is deep enough, you see only the wash of light.
Four to six inches of return is the usual range for a residential cove. The gap between the top of the lip and the surface above determines how widely the light spreads. We frame the trough, form the lip and leave a hollow run behind it for the LED tape and its power supply. Because light skims the surface at a shallow angle, it also emphasizes every shadow in the finish, which is where finish level becomes part of the finishing work.
Fireblocking Where a New Concealed Space Is Made
A soffit, coffer or tray perimeter creates a new concealed space where the wall cavity meets the ceiling cavity. The residential code requires fireblocking at that turn. Fireblocking is solid material packed into the void to stop fire from traveling up the wall and straight across the ceiling. It goes in before the board, because once the surface is closed there is no way to add it without removing the finish again. On a permitted job, the inspector checks it before the board goes on, making it an inspection item rather than an optional detail.
A Junction Box Has to Stay Reachable
Boarding over a wiring splice in the ceiling buries it. The electrical code requires every junction box to remain accessible, and a buried box fails inspection; reaching it afterward means cutting open finished work. Before the board goes up, we walk the ceiling with the electrician and mark every box against the new shape. If one lands behind a coffer rib or inside a cove, they either move it or fit it with an access cover. We do not perform the electrical work or touch the box ourselves; we build the feature so they still have room to do their work.
The Trades a Custom Drywall Feature Touches
Custom drywall sits in the middle of a project shared by several trades, and we handle one part of that sequence. We frame the shape and finish the gypsum board around it. The electrician puts power inside a lit recess, the carpenter runs trim against the finished edge, and the tile setter covers a shower niche. What matters to you is not the list of trades but the order in which each one needs to work.
The electrician pulls cable through the stud bay before the board goes up, because once the face is closed, reaching that cable means cutting the surface open again. The trim carpenter comes in after the finish coats are sanded, since baseboard and casing are scribed to the surface they meet. When we set out your scope, we identify which of these trades your feature needs and when each one enters the job.
Where Our Work Stops
Our scope covers the framing and gypsum board on your feature and ends where other trades take over. We do not size or install a structural header, and we do not alter a truss. Trim carpentry belongs to the carpenter, including baseboard, casing and crown.
Cabinetry and built-in millwork belong to a cabinetmaker, doors and their frames to a finish carpenter, electrical work inside a lit feature to an electrician, and tile, including the tile in a shower niche, to a tile setter. Before you book anyone, we tell you which of those trades your feature needs. Texture, primer and paint are also services we provide, so you can have us carry the feature through those stages or hand it over paint-ready.

Custom Drywall in Conroe, Montgomery County and the Lake Communities
Homes around Conroe were not all built to the same pattern. Downtown, you find bungalows and post-war cottages; in newer subdivisions and around Lake Conroe, which covers 19,640 surface acres, rooms are more open and walls run longer. We build features into both, and the main difference is the age and condition of the framing we uncover when the finished surface comes off.
Where Conroe Drywall Co. Builds Custom Features
Conroe Drywall Co. builds custom features throughout a service area that covers 21 communities.
Conroe Neighborhoods and Communities
- Grand Central Park
- Graystone Hills
- Rivershire
- Stewarts Forest
- Downtown Conroe
- Wedgewood
- West Fork
- Tejas Creek
Surrounding Cities and Communities
- Willis
- Montgomery
- New Caney
- Splendora
- New Waverly
- Cut and Shoot
- Panorama Village
- Grangerland
- Plantersville
Lake Conroe Communities
- Lake Conroe
- Bentwater
- Walden on Lake Conroe
- April Sound
FAQ
Custom Drywall Questions
Short answers to the questions people ask before committing to a feature. Each one stands on its own, so you can read the question you need and stop there.
How much does a custom drywall feature cost?
There is no single square-foot price for a custom shape. The flat board around it and the feature itself are priced separately, and each appears as its own line on your scope so you can see exactly what you are paying for. The price for both comes from the site visit.
Can you build an arch or a curved wall in a room that is already finished?
Yes, and most of this work is done in finished homes. The main unknown is what the wall has been hiding, because nobody can price that part firmly until the surface is opened. What you will notice most is not the framing itself but the protection over floors and furniture, along with how much of the surrounding wall needs to be refinished.
What is the difference between a tray ceiling and a coffered ceiling?
A tray raises the center panel above a band that runs around the edge of the room. A coffer drops a grid of beams across the entire ceiling, leaving recessed panels between them. Neither carries any part of the house, and either can be added to a room that is already finished.
Will a coffered ceiling make my room feel lower?
Yes. The beams drop four to eight inches, which is usually too much to lose under an eight-foot ceiling, so we steer most coffer work away from rooms that low. With a nine-foot ceiling or higher, the same beams add depth without taking away headroom you notice.
How long does a custom drywall feature take to build?
Framing and boarding move quickly. The finish coats take longer because each one has to dry before the next goes on, so the time of year affects the schedule almost as much as the design. We give you the expected number of working days in the written scope rather than tying the job to a single date.
Do I need drawings before you start?
No. For a normal residential feature, a photograph or sketch plus a visit to the room is enough, and the final dimensions go into the written scope. A drawing is needed only when the work affects the structure, and that structural work belongs to another trade.
Will new work match the wall beside it?
Yes. The new texture runs to a natural break rather than stopping in a ring around the feature, and your scope states exactly how far that finish will extend before we begin. Knockdown, orange peel and hand-applied finishes are all matched using the same approach.
Get Your Feature Priced
The next step is a visit, not a commitment. Conroe Drywall Co. measures the room, looks at the custom drywall feature you want and gives you a price, anywhere in Conroe and Montgomery County. The visit is free.
Call (346) 706-5743 or use our quote form for a clear price on your project.